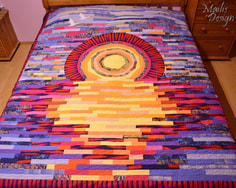
This time I am presenting you a quilt that is, in my own judgement, a head longer, wider and more complicated than all my patchwork so far.
The story began some time when Christmas was already in sight; I do not remember exactly. I had just reached the point with my commissions where all the promises of the current year were coming to completion, and I decided to take a holiday until the end of the year, without sewing and without thinking about deadlines from before Christmas to the end of the year. Time for myself, for the children and the grandchildren. Time to stretch my back and enjoy walks by the sea.
And then it came, such an exciting offer: to sew an enormous day quilt with a sunset, in warm tones as a sunset should be. Preferably something orange, crimson...
The deadline: the first week of January.
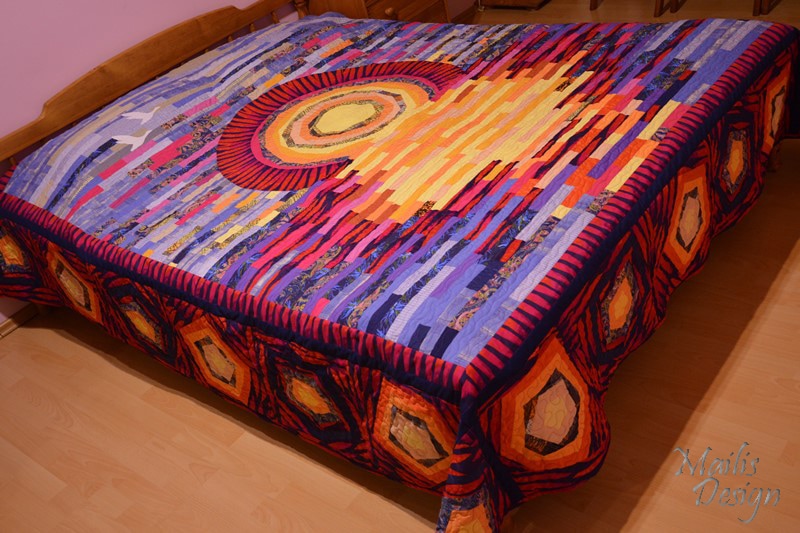
Right then. Exciting, exciting. But such a large and complicated piece of work and such a tight deadline.
In that time you might just manage a proper design, that is a vision of a new piece.
But there we are, you simply have to take it on and get to work; a couple of earlier pieces still to finish, and off we go.
For a week of days I browsed photographs online and tried to work out which colours to use, since a sunset can be depicted in an enormous range of colour schemes. I dug about in the piles of fabric and put together various colour combinations. I tried to work out which pattern and technique to use: squares, stripes, crazy patchwork blocks... I sketched pictures of a sunset with coloured pencils and tried to choose colours with the pencils' help.
Time was ticking at the back of my head, though, and this time (for the first time) I started work before I could work out exactly what, where and how.
Let me try to cover the days spent in the workroom.
Days 1 to 3 in the sewing room
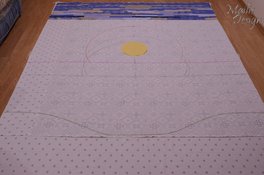
From 101 fabrics I picked out a set of blues, greys and beiges, a second of oranges and yellows, a third of crimsons and purples, and threw aside the colours that seemed wrong or unnecessary. From the chosen fabrics I cut a few hundred metres of 5 cm wide strips in all.
I sewed a base for the picture from old bed sheet fabric, laid it on the studio floor and drew the outlines of the sky, the sun and the sea on it, to get the proportions right. On the third day I started at the top edge of the picture by depicting the sky, that is placing and sewing together the strips of the sky. By the end of the day I pressed down the seams of the first section of sky, cut it to size at the side and put the first piece of the picture in place.
Day 4
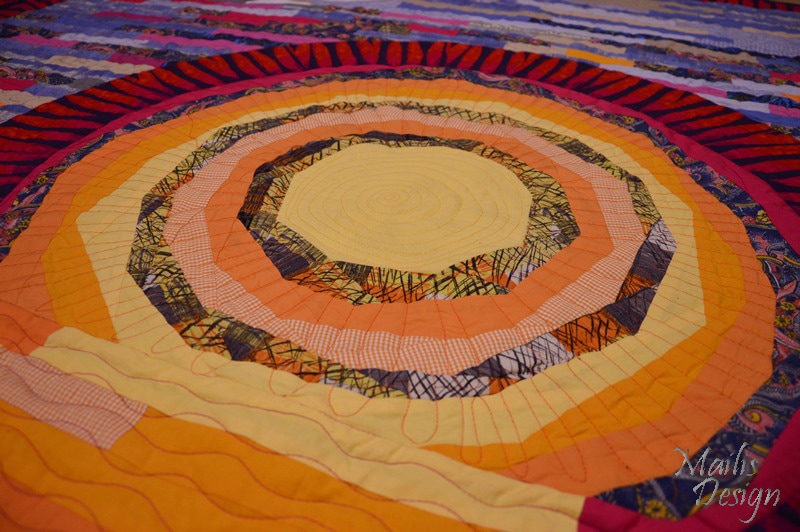
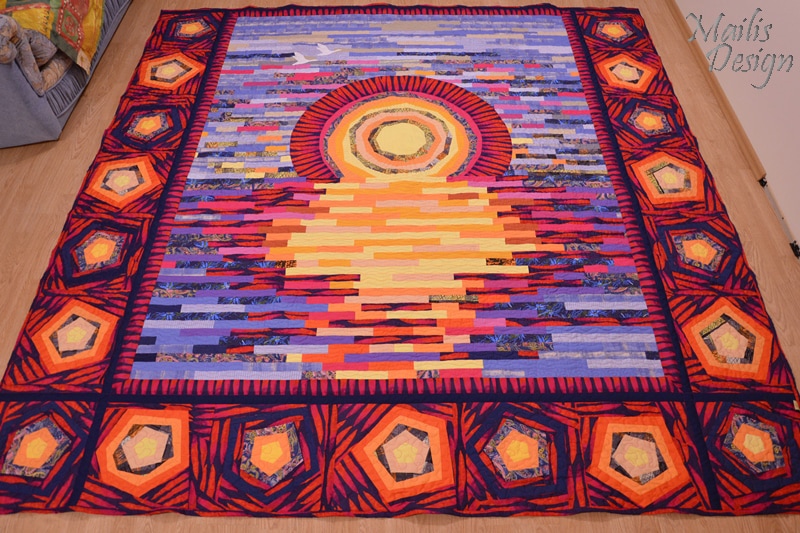
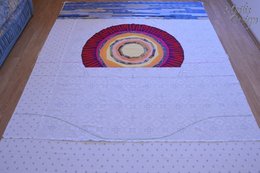
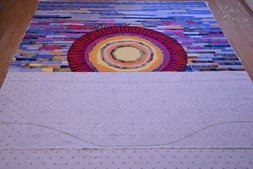
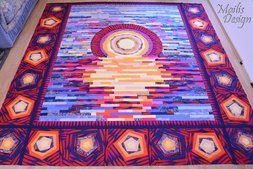
For a good while I puzzled over what the sun might look like: whether to make a light patch of yellow and orange fabric strips in the middle of the picture and later shape it into a sun with the quilting, or to sew a circular sun and sew that onto the middle of the picture separately. An exciting fabric with crimson and orange bands inspired sewing exactly the kind of sun you can see in the picture.
To begin with I took a yellow circle and sewed rings of strips in matching tones all the way round it. The outer ring of the sun is sewn together from pieces of the banded fabric (production offcuts).
The sewing would of course not have taken all day, but combining the colours, that is shaping the most beautiful and the most right sun for the middle of the picture, was not at all a simple undertaking for me. The working day ended with pressing the seams of the sun's disc and placing it on the picture.
Days 5 to 6
The new day began with choosing the colours of the background around the sun, that is the stripes of the sky. Onto the existing blue and grey background of the sky I now fitted, step by step, reds, purples and oranges and a little yellow as well. In the middle, where the sun goes, I left it empty.
I sewed the strips of the new section of sky together, pressed the seams down and sewed the sky together with the previous part.
I folded the outer edge of the sun back by the seam allowance (1.5 cm), tacked the seam allowance down and pinned it to the sky. Then I sewed the outer edge of the sun to the sky with blind stitch. Later I went over it from the inside with the machine as well, because the hand stitching seemed a little fragile. I pressed all the seams down and cut the edges of the piece to size (compared with the previous ones).
Days 7 to 8
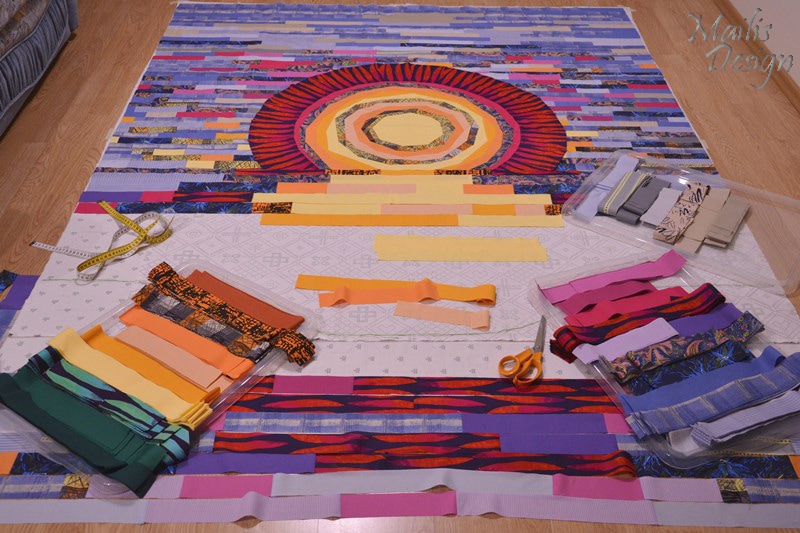
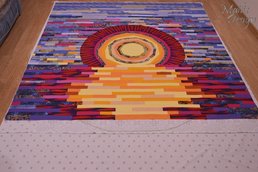
I combined the colours at the border of the sun and the water. It was not easy. One photograph was a help, which had the tones most like my work, along with a colour spectrum for checking the transitions between colours. When the picture had already started to take shape, I pulled it all apart and began again.
My fabric strips are sorted onto the lids of fabric boxes. They are the lids of Yski plastic boxes and I use them in quantity like trays. That way I transport my pattern pieces (this time strips) from the cutting table to the pressing, and from there on to laying out the pattern or to the sewing machine. Quick and practical at any time for carrying a large quantity of pieces with you or clearing them off the work in progress.
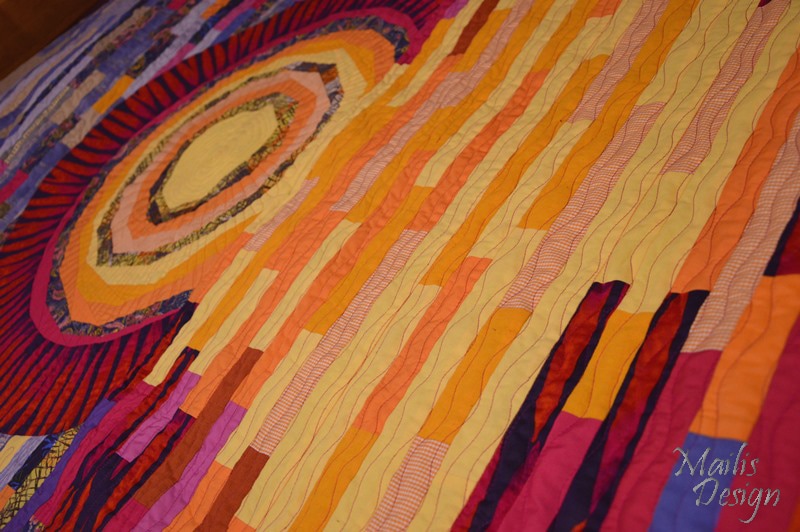
The shimmer of the sun on the water took 2 days: I placed coloured pieces of fabric on the picture, making sure that the colours fitted the picture nicely to my eye and at the same time that the seams in adjacent rows did not end up in line with one another.
By the evening of the second day I had the pieces in place, sewed them together, pressed them and sewed them onto the first half of the picture.
Days 9 to 10
For the lower edge of the picture I could not decide at all whether to carry the water and the reflection of the sun down to the bottom edge of the picture or, as originally planned, to add a strip of shore and quilt bulrushes swaying in the light on top of it.
I decided to carry on with the edges of the quilt and leave designing the lower end of the picture for later.
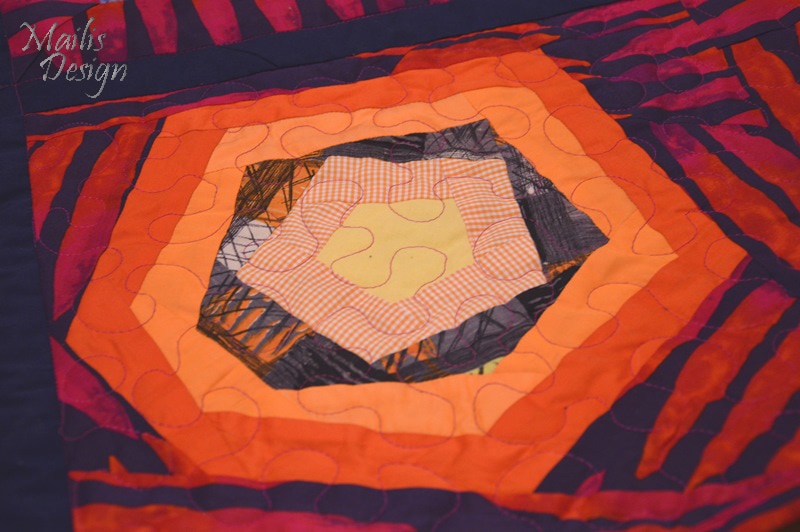
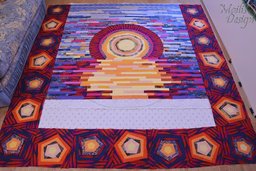
The idea for the edges of the quilt was to repeat little setting suns. Sewing those blocks took 2 days as well; at the end of the second day I laid the finished and pressed blocks in a row around the picture. Sixteen blocks.
Days 11 to 12
By the end of the previous day, with the blocks in place around the picture, it was clearly visible that adding a shoreline in green tones to the picture was not a good choice. So I carried on depicting the shimmer of the water, combining colours.
Around the picture I sewed a frame of rippled fabric and around that a narrower frame of dark blue fabric. Only around that was the place for the blocks of little suns, and I sewed them together all the way round. Some blocks I had to sew a little wider, so that the measurements matched exactly. And with that the quilt's pattern is finally together. I pressed the last seams once more and left it to wait for a new day.
Then I cut the backing fabric to size and put it in the wash and out to dry overnight, so as to carry straight on in the morning.
Days 13 to 14
I began the day by pressing the quilt's backing and sewing it together. The quilt is 2.5 m wide and 2.6 m long. So I sewed together 2 fabrics 2.8 m long for the backing. I cut the selvedges off first.
I spread the backing, sewn and pressed to size (2.7 m x 2.8 m, a little to spare all round), on the floor and fixed it to the floor with masking tape. Beforehand I had to perform feats of strength and beauty with the sofa, to push it out of the way into the corner under the roof between the shelves.
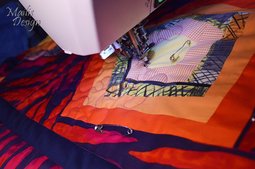
On top of the backing I laid the wadding, likewise 2 lengths, and sewed the edges together by hand down the middle. On top of everything I spread the layer of the quilt's pattern and smoothed all 3 layers out properly, so that no folds or tension were left anywhere. I pinned all the layers together with safety pins, about 15 to 20 cm apart.
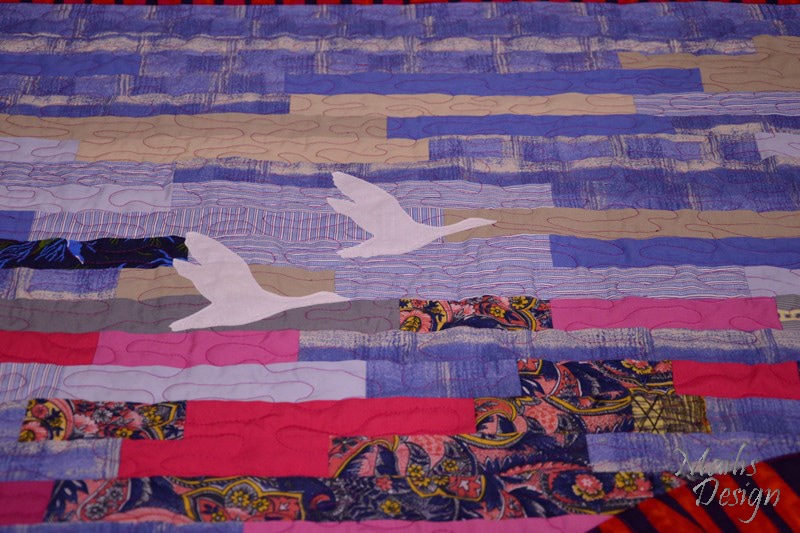
Now the tape off, the quilt into my arms and under the machine. And 2 days of quilting. The sky got long, softly winding ripples. The sea a delicate wave pattern. On the sun I quilted a circular pattern in the middle and bundles of orange rays around it. It would be interesting to know how many metres I twisted my arms about under the machine that way. Fifteen bobbins of lower thread went into it, at any rate.
On the last day a lone pair of swans appeared; I pressed and quilted them onto the picture as well.
To finish, 10 m of double binding.
Once the work was finished, the usual photo session, photo editing, an exclusive fabric product label, an information sheet with a photograph and the quilt's name, measurements, material information and care instructions. Packing, and the work delivered to the client's home.
Once I get word that the present has been handed over, I can publish this post.
A beautiful and colourful new year to you all.