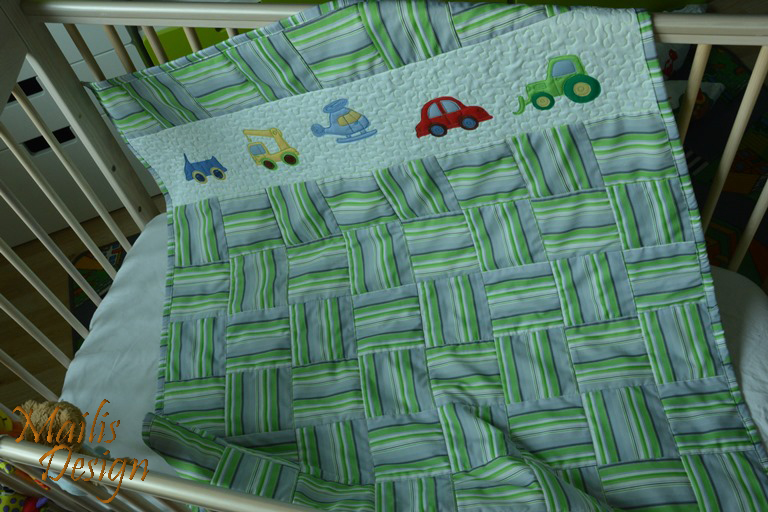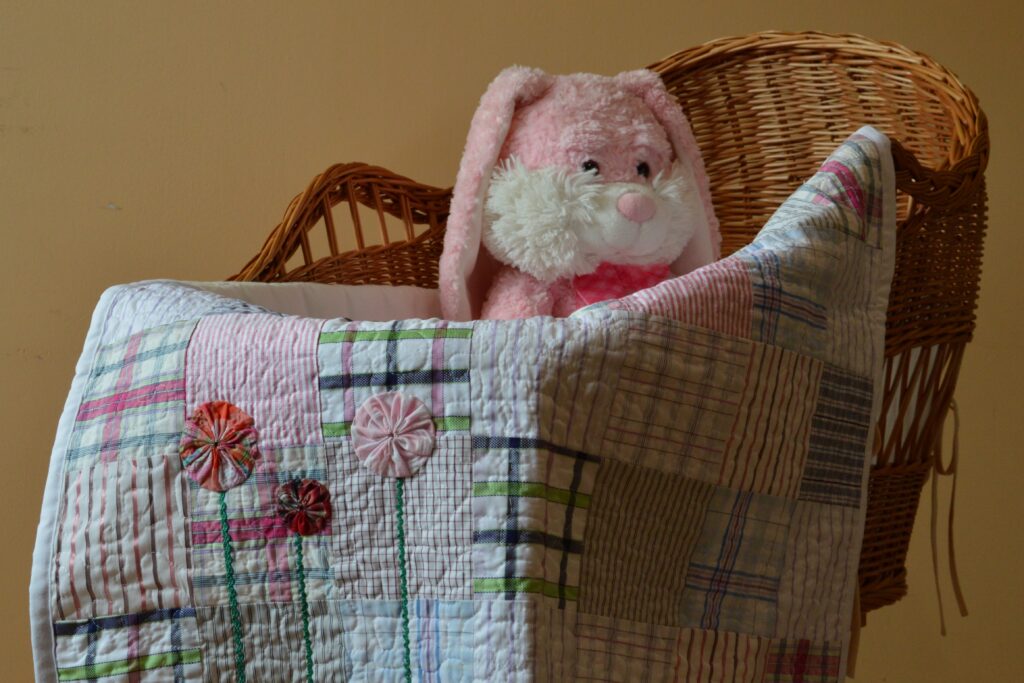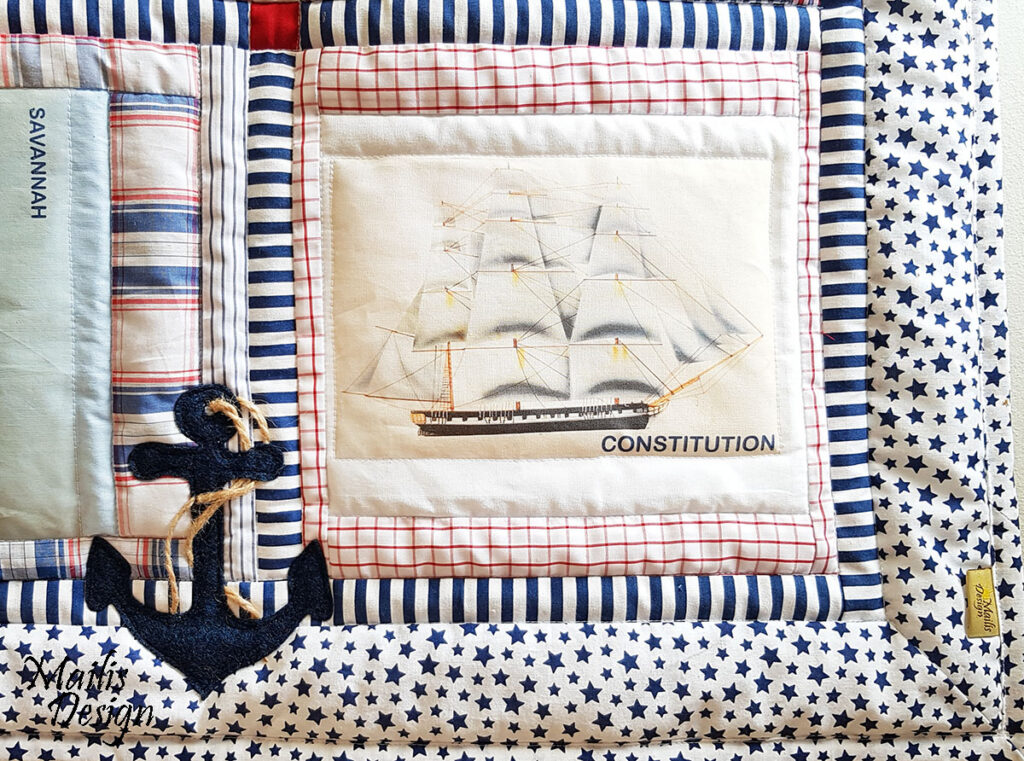
Since patchwork is made above all by representatives of the gentler sex, it quite naturally happens that quilts are dominated by flowered fabrics, dogs, bears, horses and other heartfelt subjects. Several times I have decided that now come the boys' quilts, and not only in boys' colours but with pictures that boys REALLY like.
But I cannot draw. Bears I can somehow manage, and cars... well, I can cope with drawing those too, somehow. But some crane or aeroplane or helicopter... what else. Help. As a perfectionist I want them to look beautiful and to be clearly recognisable to a child. And most important of all, simple, so that making one tiny applique does not swallow countless working hours.
So I kept putting off this machinery subject until I realised: if you cannot do it yourself, you have to find somebody who can and who wants to.
So I announced in a craft group on Facebook that I was looking for somebody to draw me simple, child friendly pictures for appliques. Ten or so people sent offers and sample pictures. Those who draw caricatures fell out at once: making appliques from pictures like that... I would not know how. So did those who sent a random piece from among their own pictures. The pictures were pretty but did not match the wish I set out in my call.
Some fell out on price. If I put 5 cars or flying machines on a child's quilt and have to pay the price of a whole quilt for those drawings, you can see the problem. Nobody will pay twice the current price for a quilt.
One candidate was especially keen. From midmorning she started sending pictures and by evening my inbox was, you could say, blocked. I was already gritting my teeth: do think and choose something yourself first, and slow down a bit. And you know what, in the end I chose her as my helper 🙂 It was that mad enthusiasm that I came to like 🙂 No need to go on about it.
Meet Mailis Design's first illustrator, ta-daa: Marje Leht.
The first pictures are nice and simple, and the internet is probably full of similar drawings, but there is not much room to be original with something like this. Bit by bit a recognisable style could develop and the pictures become more complex and more interesting.
Now a little about how I make appliques, with pictures.
* First I printed out all the pictures of the machines in two copies. One stays in front of me as a model and the other I cut into pieces. On a car, for instance, the body, the windows, the wheels and so on. I used thin cotton fabrics in different colours and patterns.
* I cut a sheet of baking paper for the ironing board and put a slightly smaller piece of double sided fusible interfacing on it. If the edges hang over, that is devastating for the ironing board. I pinned them to the ironing board at the corners, because otherwise they start living a life of their own there. Especially when you are dealing with very small pieces.
* I laid out, that is fitted, as many fabric pieces as possible onto the fusible interfacing. During that work breathing is a complicated activity, shaking hands are malicious and sneezing absolutely forbidden. Once everything was nicely in place and no edge covered another, I put a second sheet of baking paper on top. Quite carefully, because one small wrong move gives you the chance to start the laying out again from the beginning.
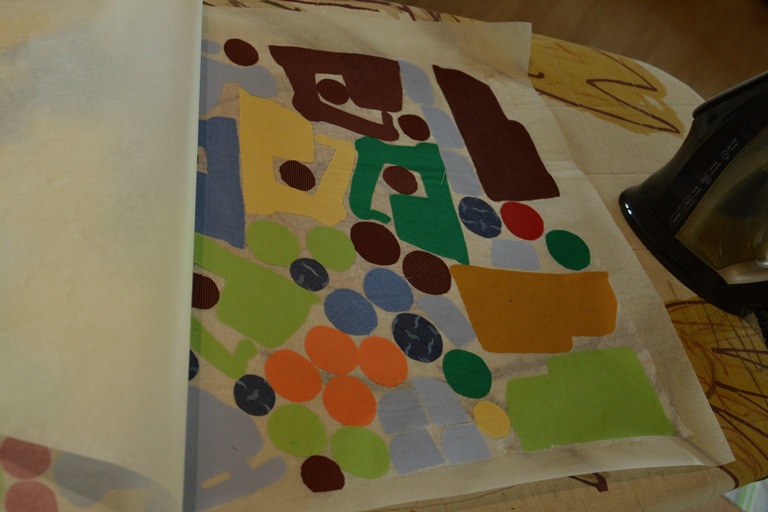
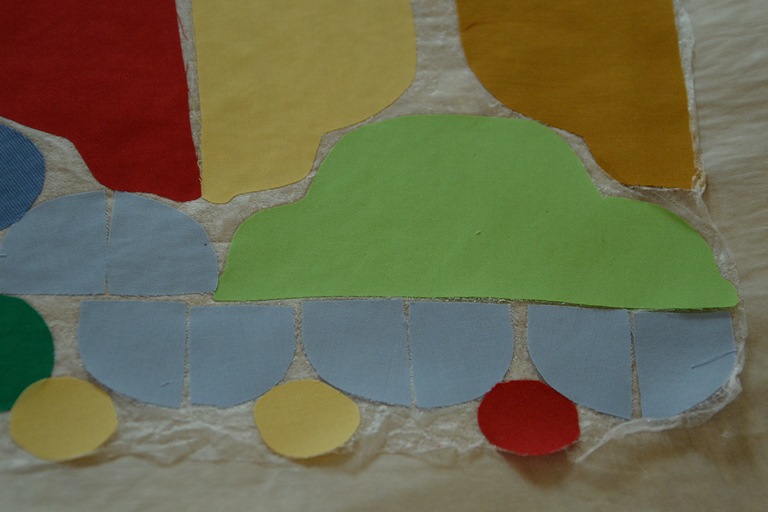
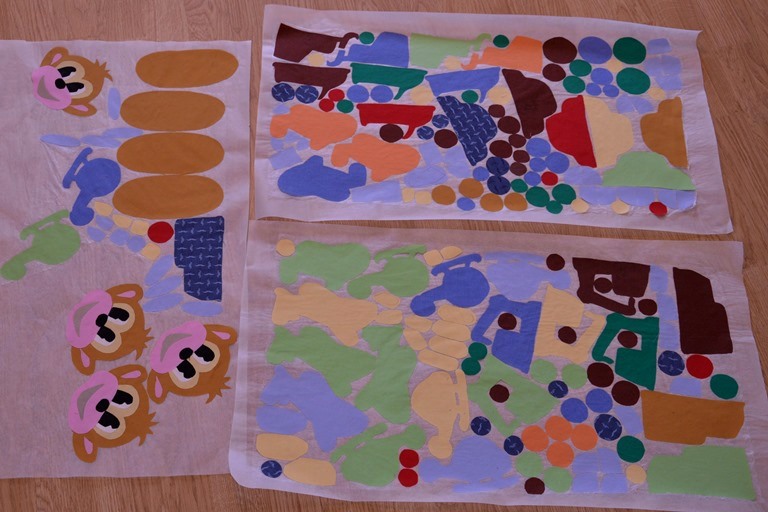
* I pressed everything slowly and several times at medium heat (the ** setting on the iron). Now every piece has double sided fusible interfacing underneath. That whole layer peels neatly off the paper once it has cooled. In the third picture you can see 2 sheets of car pieces. On the left hand sheet, the monkeys' faces have already been through quite a few stages of cutting pieces and fusing them to the interfacing.
* I cut the car pieces out again, this time together with the interfacing, so that no edges of interfacing are left over.
* From the pieces I assembled the machines: windows, wheels, propellers all in their places, on a free piece of baking paper. The second sheet of baking paper on top again and I pressed it over once more. If the interfacing has been cut away especially carefully and the iron has a Teflon sole, you need not put baking paper on top any more; it can throw the whole thing out of place again.
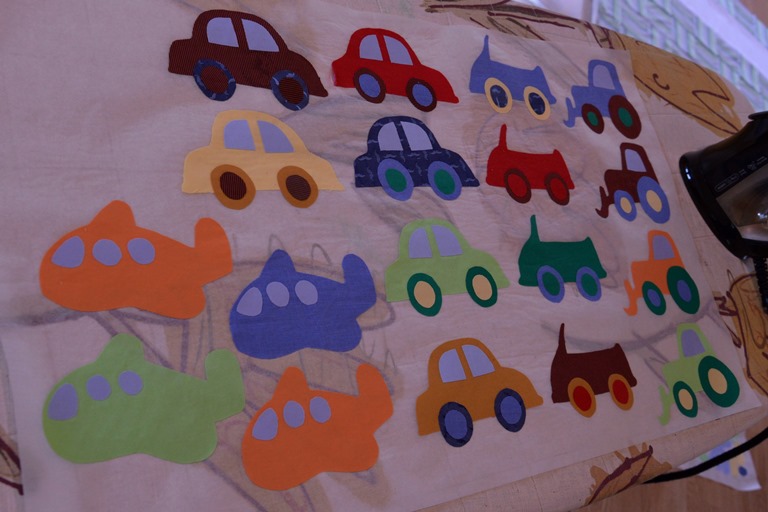
* Once the pictures had cooled, I peeled them off the baking paper and laid them on the quilt fabric. I pressed them firmly onto the fabric at *** heat.
* All the appliques have to be sewn round at the edges, with the necessary outlines added: door handles, the outlines of an aeroplane's wings and so on. So far I have edged the appliques with blanket stitch, but this time I will probably use an ordinary seam. If the interfacing has been properly fused on, there is no worry that it might come apart in the wash.
Now the wadding and backing still have to be attached to the quilt, and it has to be quilted and bound.
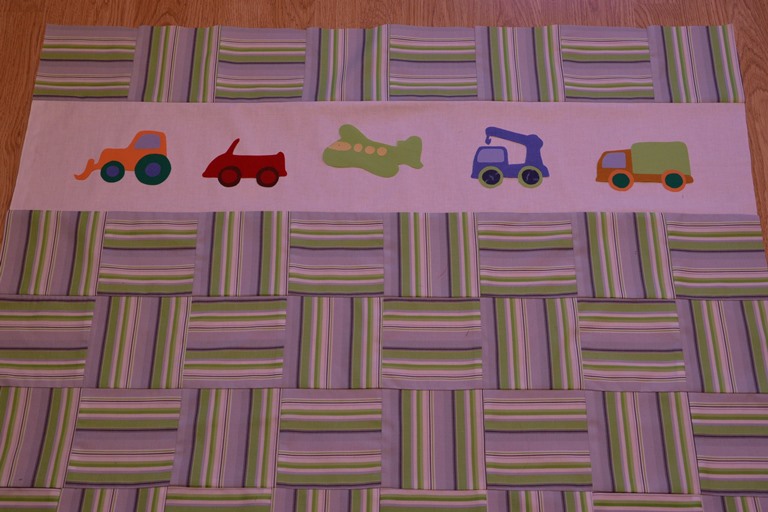
The first little quilt is finished. The other quilts in the same series I will add to my page, portfolio, children's quilts, and to the web shop, patchwork.