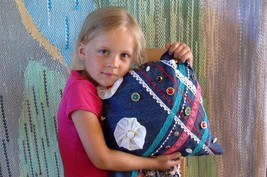
If you are coming to grandmother's, then there has to be sewing too.
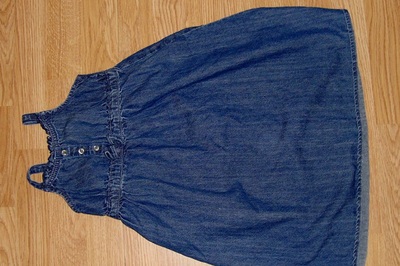
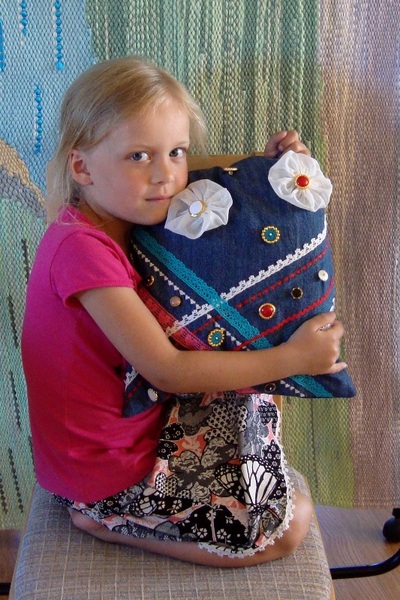
This time we dug out a piece of work left unfinished some time ago, a small denim skirt that we had started decorating with bits of lace and machine embroidery. The machine embroidery was done and the lace was ready to go on. But there it stayed, because the young lady decided she was not going to wear a skirt like that after all.
Now the thought came of putting that old work and effort to some use, and we decided to make a nice cuddle cushion out of it instead.
How the work went:
1. We fitted the laces between the machine embroideries and sewed them on. Laces with a straight edge with a straight seam along both edges. Laces with a wavy edge with a three step zigzag. A new change of thread for each different colour of lace. All done by the child herself, and with great excitement.
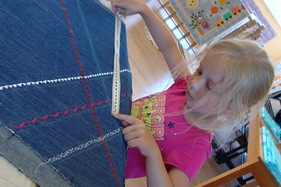
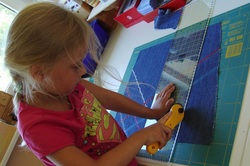
2. We measured the cushion (35 x 35 cm), added a small allowance and cut the laced top fabric to size, that is 38 x 38 cm. We tried to do this with a rotary cutter and the matching ruler. That too was an experience of its own.
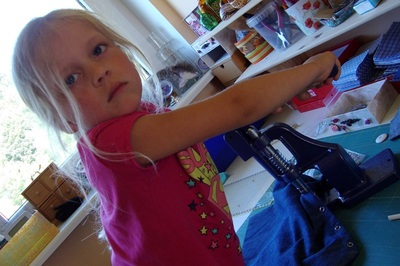
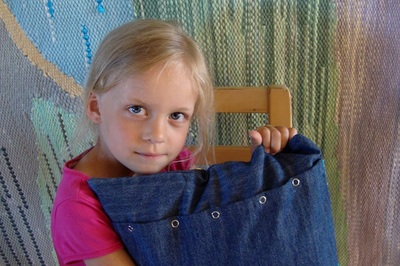
3. The back of the cushion cover and the fastening grandmother sewed herself. For the fastening we used snap fasteners. That way the back stays smooth if you want to put your head on the cushion.
Fitting the snaps, though, was quite tiresome. Either they would not close, or if they seemed to at first, it turned out later that the parts of the snap had been pressed off centre and came apart. A whole handful of snaps went in the bin before we got the fastening right.
4. Sewing the two sides of the cushion together, pressing.
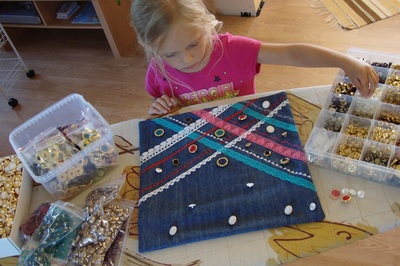
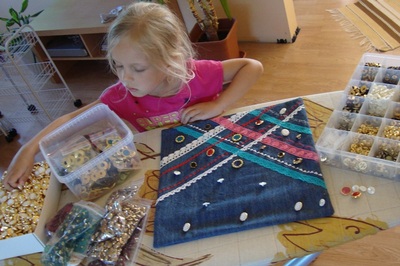
5. Fitting the buttons into a design was the most exciting part. Since Carolin had got to know my button stocks before, she knew fairly precisely which buttons she wanted to use. Finding them just took a while. It was quite astonishing how skilfully she chose the colours of the buttons and moved them about. I gave a few suggestions of my own, of course, but for a 5 year old her skill at fitting a design together was simply astonishing. She would put a button down, look at it from here and from there and swap it for another. A different colour, a different size. And so on through the whole piece, every single button.
Once some kind of button design had come together in balance between the laces, the large lace free triangle seemed rather difficult at first.
We tried to fill it with buttons, and with various numbers of fabric rosettes. The final solution was entirely the child's arrangement: exactly 2 rosettes and only a few single buttons in the gaps between them.
Choosing those last few and the centres for the rosettes took what felt like an eternity. She sorted through three boxfuls, trying every possible combination of colour and size. A bright red centre for the first rosette found its place fairly quickly, but fitting the centre for the second rosette was the last and most thorough choice of all. The winner was a white fabric button with a gold rim. Very simple but beautiful.
6. Fastening the buttons. Since sewing such a great number of buttons onto fabric would be endlessly tiresome and time consuming, grandmother decided to tie them on instead. First we sketched the cushion's design on paper the size of the cushion and laid the buttons out on it, so we could see the arrangement. Then I took white crochet thread and a large needle, passed it twice through the fabric and the button and knotted the ends together on the wrong side of the fabric.
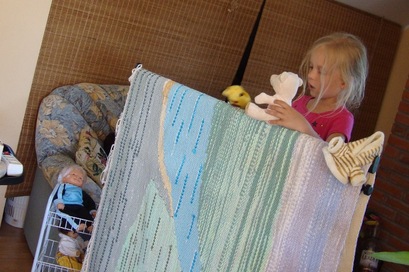
7. While grandmother was fixing the buttons and rosettes to the cushion, this proposal came: "I could put on a theatre for you so you will not be bored." How sweet is that. It is of course lovely to potter away at a piece of sewing with the theatre delivered to your door. It was a very good theatre; three stories were played through before the cushion cover was finished.
Tools used: a tape measure, a rotary cutter, a cutting mat and ruler, an unlimited quantity of buttons, crochet thread for tying the buttons on, snap fasteners and a press, and more.
And the cushion turned out splendidly and the child was very happy. Right at the end she did think the cushion could have had a handle after all, or even two. Like the cuddle cushion she was given before. 🙂