This time my little artist decided to try her hand at sewing a quilt.
On the first day, as soon as she arrived, she was so full of enthusiasm that she planned to take on several quilts. A big one for herself and another for her very small little brother.
We started with the little brother's quilt.
The first entertaining challenge was choosing the fabrics. Of course I agreed to rummage through the fabric shelves that same evening and heap an initial selection on the floor.
I showed her the simpler patterns drawn in my design folder, told her the basic truths of sewing a quilt and we discussed possible solutions that would suit her. All of it in the evening, because I know from my own experience how well the right idea starts to form out of an enormous jumble of ideas precisely at night.
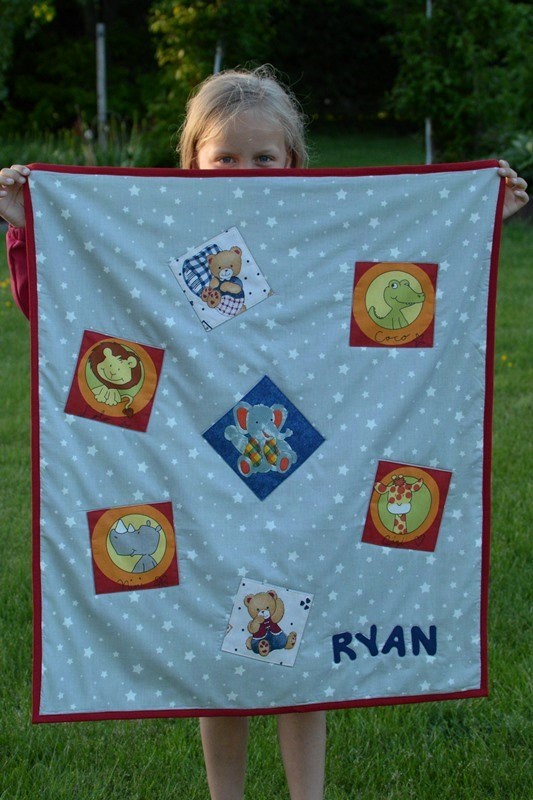
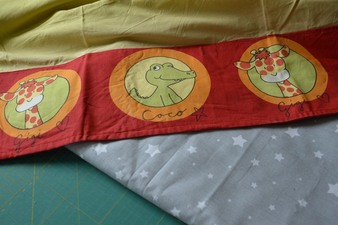
In the morning the young lady decisively picked out the grey fabric with white stars. All the others were out of the question. On top of that, her mum likes grey fabric too. She buys herself grey clothes. For decoration the little lady chose a reclaimed fabric with pictures of animals.
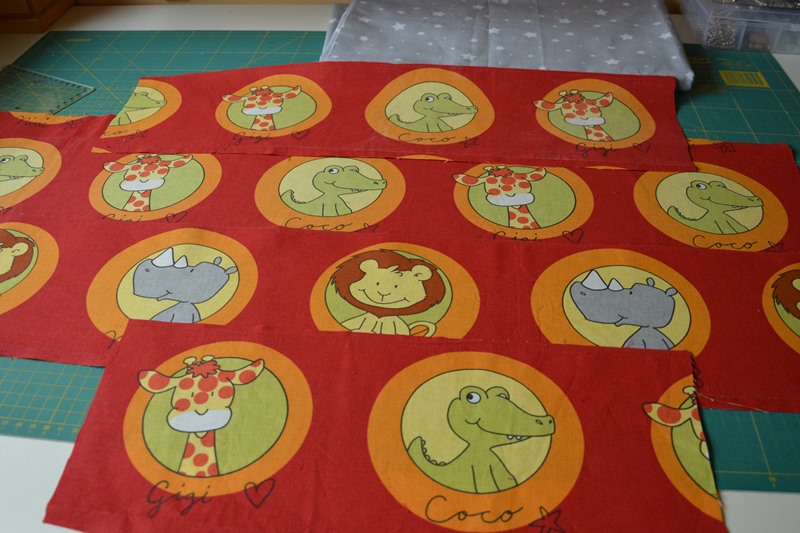
The second and slightly less entertaining challenge was preparing the reclaimed fabric. Unpicking, unpicking and unpicking, then pressing and cutting the pictures into squares of equal size.
Before that, though, came the most exciting part: choosing the pattern.
No quilt of squares. No strips or other patterns. No need for more pictures than one giraffe, one rhinoceros and one lion. What crocodile. I do not like crocodiles. We asked the other boys (3 and 5) whether they would like pictures of a crocodile on a quilt... Fine then, let there be one crocodile. A few more pictures could go on...
Diving into the pile of fabric again. Where can we find more of the right pictures for this quilt, in the right colours, the right size, with the right animals? No two identical pictures. This elephant will do. That fabric with bears too. I will put two bears, and the elephant, only one. No need for more.
I want to put these pictures on the quilt, I do not want "that kind of" quilt. Just put them on, look, like this.
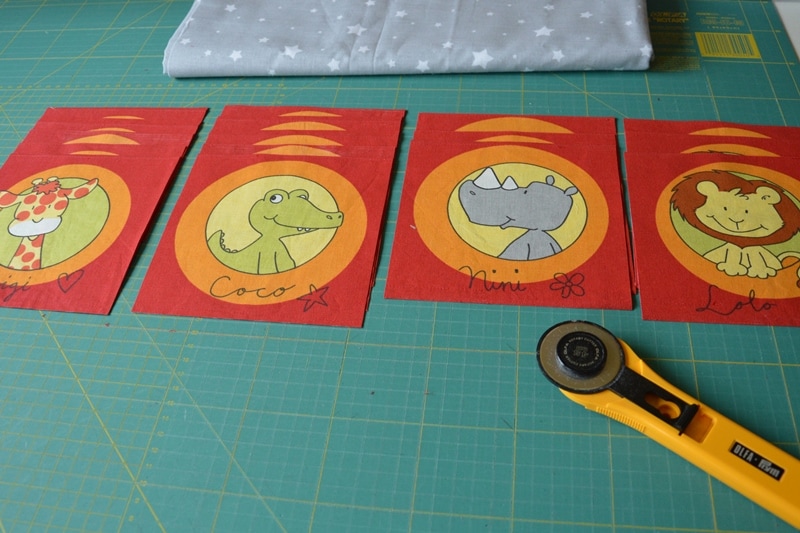
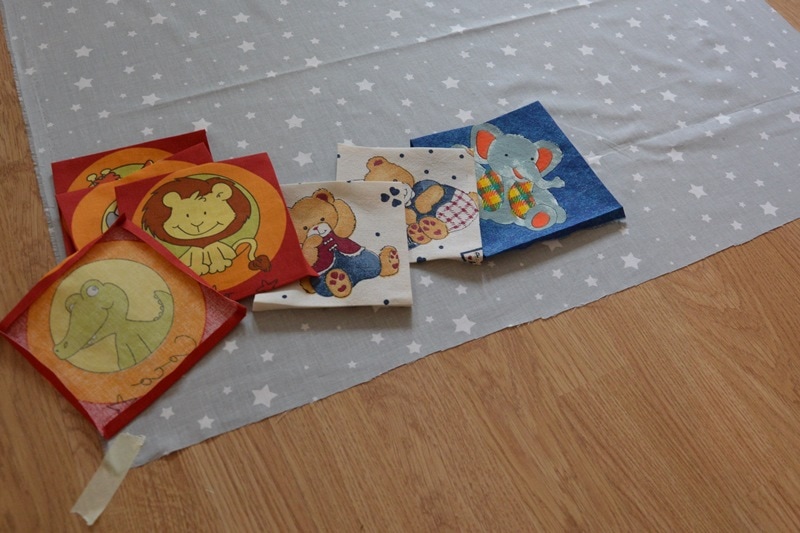
And that is how the quilt started to take shape.
In myself I discovered the recognition of how stuck I am in habitual frames, because for quite a while I could not work out what plans the little lady had for that pattern. I kept trying to fit her explanations into my existing understanding of patchwork, until I finally realised that something entirely different was coming.
I pressed the seam allowances of the squares down, cut the top fabric of the quilt to the size wanted and pressed it.
A name applique still had to be made on the quilt.
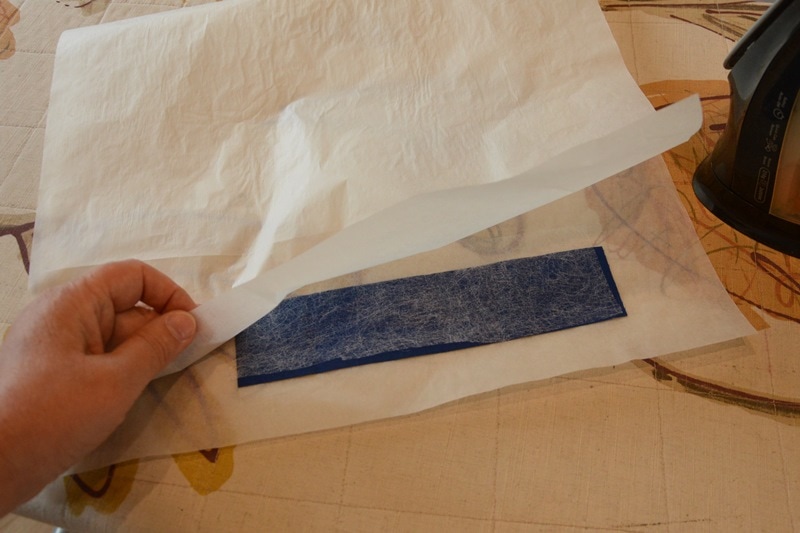
For that I cut a strip of cotton fabric and ironed double sided fusible interfacing onto it, between two sheets of baking paper. Then I cut the letters out of the strip with its interfacing.
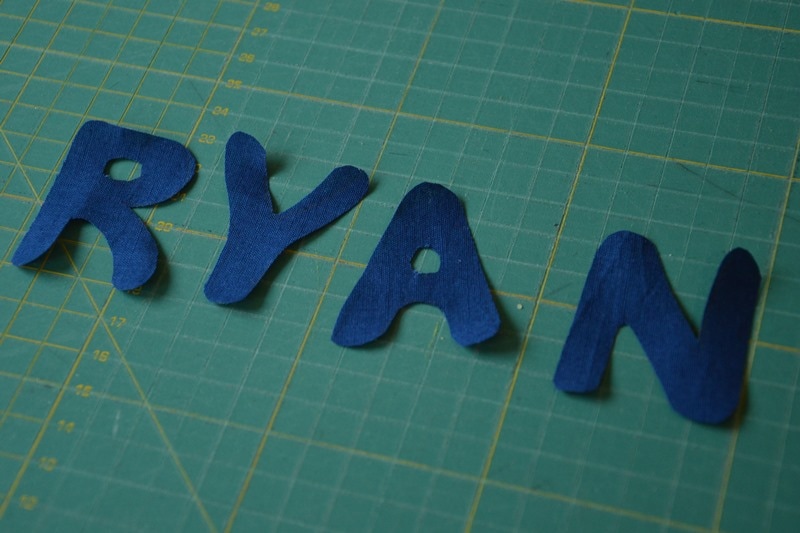
We fixed the quilt's top fabric to the floor with masking tape, and the pictures and the letters of the name could be put in place and pinned.
The name I sewed onto the quilt myself, with the stitch for fixing appliques. The pictures we sewed together; I pressed the pedal. The young lady sat on my lap and held and guided the fabric. For every fabric square exactly the right colour thread was needed. Winding the bobbin and threading the machine went quite smoothly in the end too.
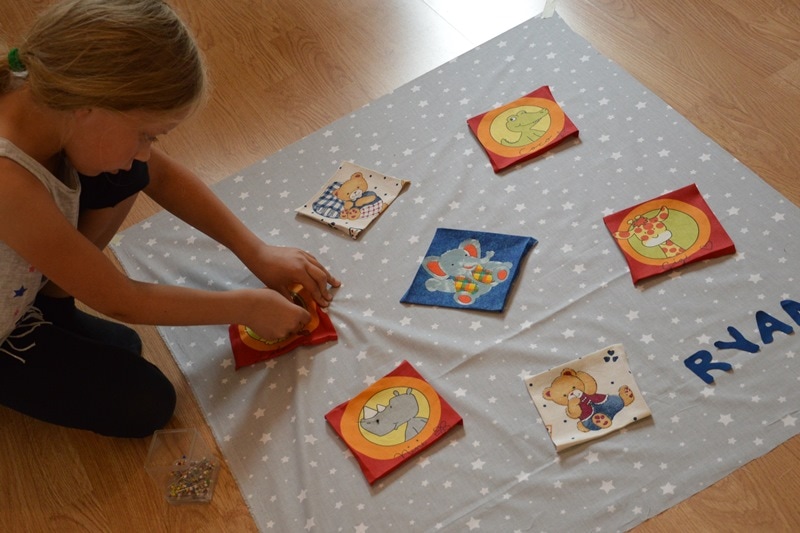
And the pictures and the name are sewn onto the top fabric.
Now the backing (washed and pressed beforehand) onto the floor, fixed at the corners with masking tape. Then the interlining on top of that.
For the interlining we took cotton towelling. Polyester wadding is considered an allergy free material, but I am still of the natural fabric faith and believe that a baby quilt should be of natural material if possible. The towelling was washed and pressed beforehand as well.
On top of everything the fabric with the pictures and the name, and everything pinned closely with safety pins. The surplus interlining can be cut away.
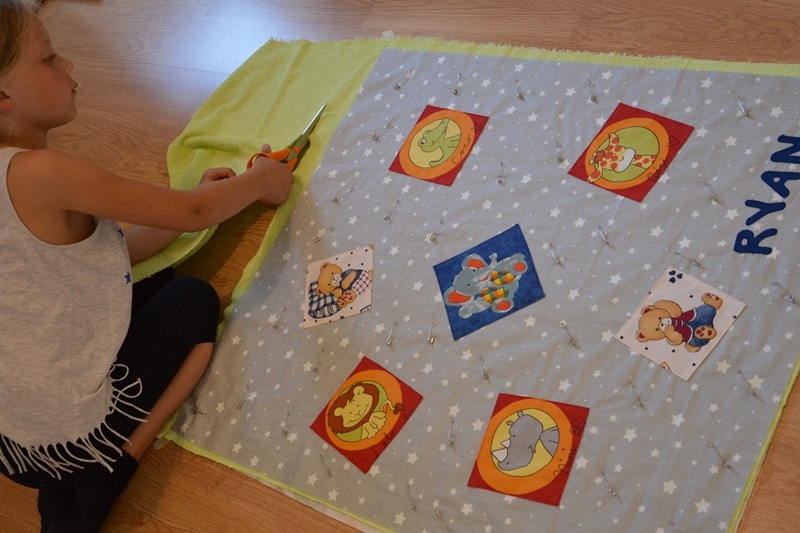
The quilting we did only around the pictures and around the letters. That should hold the layers of fabric together nicely. We did not do dense quilting this time; there will be time enough to practise.
For the binding, red was chosen in a tone that brooked no argument. I showed her as well how binding is put on, but took that very last and fairly complicated part of the work on myself.
Such a grand quilt, such an unbelievably capable and enterprising little seamstress.
Such a pretty, sweet, soft little quilt and such an original approach to patchwork.
The next day, at Carolin's wish, we made a cuddly animal to go with the quilt. More about that in the next post.