In the summer I made two covers of weatherproof material.
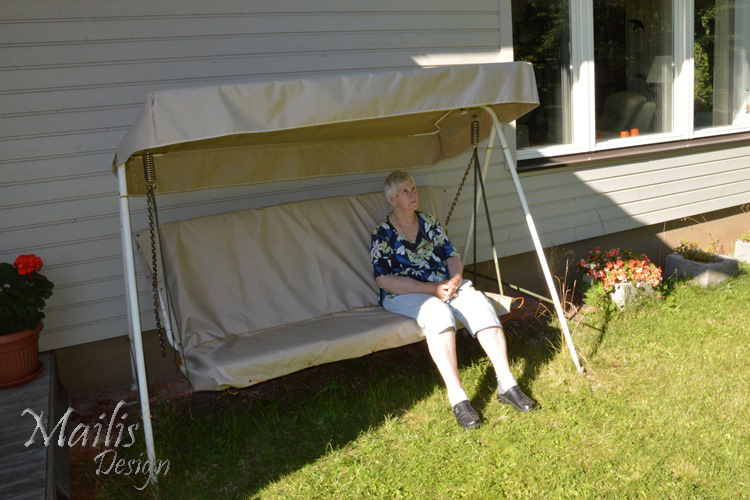
One was a new cover for my son's enormous sun canopy and the other a new cover for my mother's garden swing.
We bought the materials for the swing and the canopy at the same time.
For the sun canopy a full 20 m of material was needed, and to get the material at a slightly more reasonable price than 350 euros, we settled for the cheaper material offered among production offcuts. The seller assured us it was weatherproof (outdoor) material.
Speaking of prices: an acquaintance in Sweden had two canopies of exactly this size break, and was quoted for sewing new covers for such canopies: 500 euros each.
For the swing cover we bought the fabric from a specialist shop, to order. Supposedly a very high quality material, used for sewing covers for motorboats and yachts, for instance.
The sun canopy cover
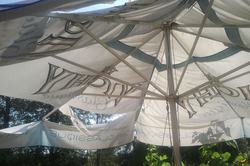
My son had an enormous sun canopy at his summer house, but it was already years old and its fabric rather worn out. I promised to sew him a new one.
The canopy measured 4x4 m, and a 150 (160) cm wide fabric would take 19 to 20 m for that single canopy. Prices per metre started at 13 euros.
I carried the old canopy's strips home and tried to fold them back somehow into the pieces of a canopy, so as to get the right measurements and drawings.
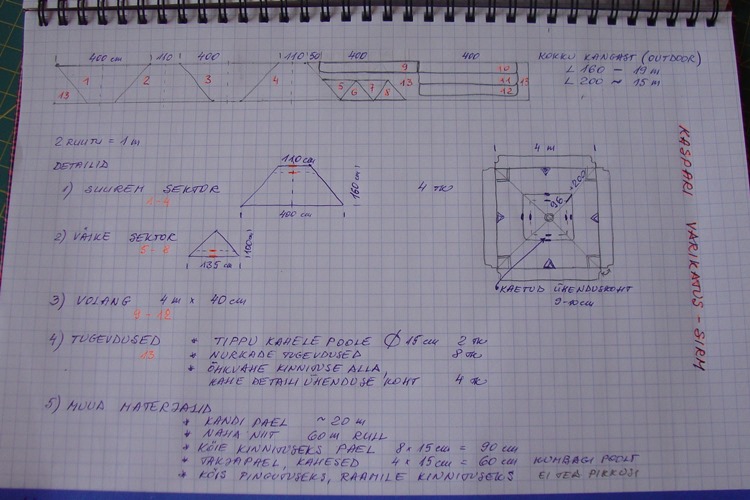
In the diagram below, the upper picture shows how to lay the pieces out on the fabric. On the right is the drawing of the cover.
In the order in which the pieces are laid onto the fabric:
* 4 main canopy pieces, without the top corner, that is the large sectors. The top corners, that is the small sectors, had to be sewn on separately, into the seam between the large pieces over about 10 cm, and left open in the middle. In the middle of the opening I made one fastening. So that the wind can escape from under the canopy.
* Next are the roof flounces, which hang down.
* From the offcuts you can cut reinforcements for the corners and under all the other hook and loop tapes, ties and other fastenings.
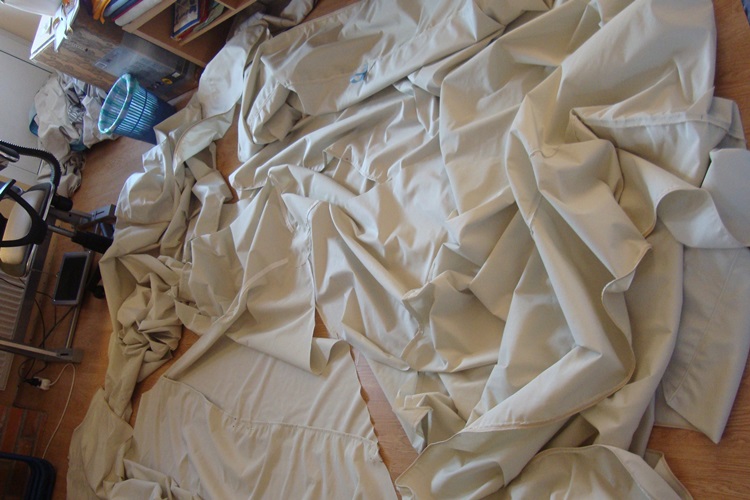
There was a mad amount of wrestling, because the room is many times smaller than any single piece. The size of the canopy (4x4 m) meant that even drawing the diagram was quite a circus. The next picture shows how I tried to make sense of the heap of strips from the old cover and, by fitting the strips together somehow, get at the right measurements.
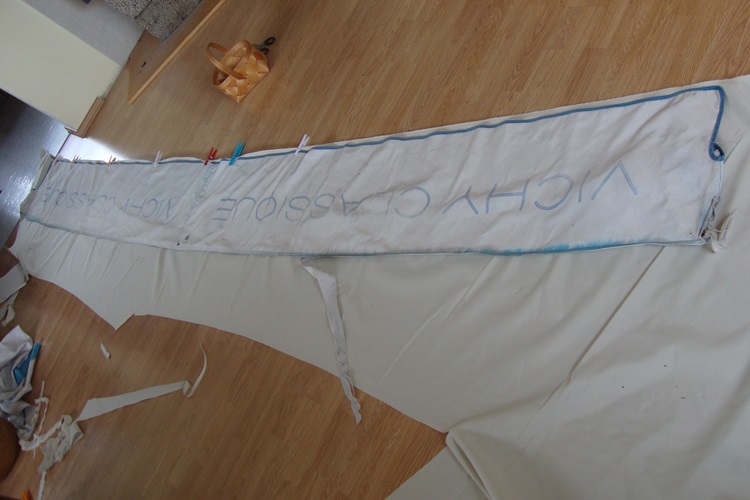
And a picture of how I tried to fit the canopy's flounce between two rooms in order to cut it to size.
It took about a week to gather the materials, get the measurements and drawings and finally sew the canopy, by this on your knees method.
And I never got a picture of the finished work. My son promised to send a picture when he put it on the canopy's frame.
About 1 month went by, and the picture I got of the canopy looked like this:
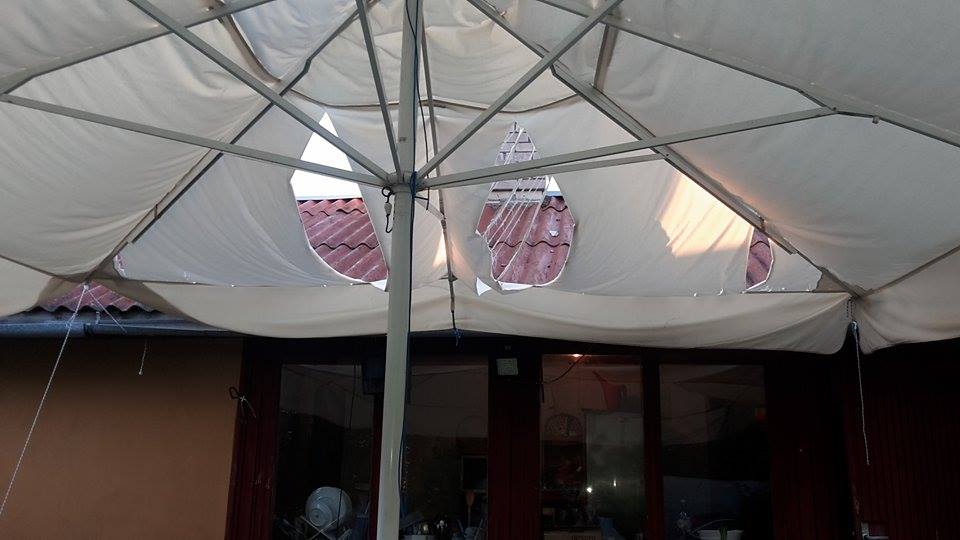
Depressing.
The material, which the seller claimed was weatherproof, was some ordinary plastic or I do not know what. The previous cover, which was lying in the shed when the summer house was bought and was by no means new, lasted another 2 years. This one barely a month before it tore into ribbons. Even at the reinforcements, that is where the fabric was four layers thick, like newspaper.
I will contact the seller to ask their view. Twenty metres of fabric is not an everyday purchase for me, and certainly not a trifle.
The garden swing cover
For the garden swing my mother, an architect by profession, made a splendid drawing. At first I stared at it like a calf at a new gate. I was still hoping to get the old cover and work out from it what or where or how. But once I had, after long thought, converted the millimetres into centimetres and asked about a couple of small details three times over, I did manage to make the thing with the help of the drawing, and correctly at that.
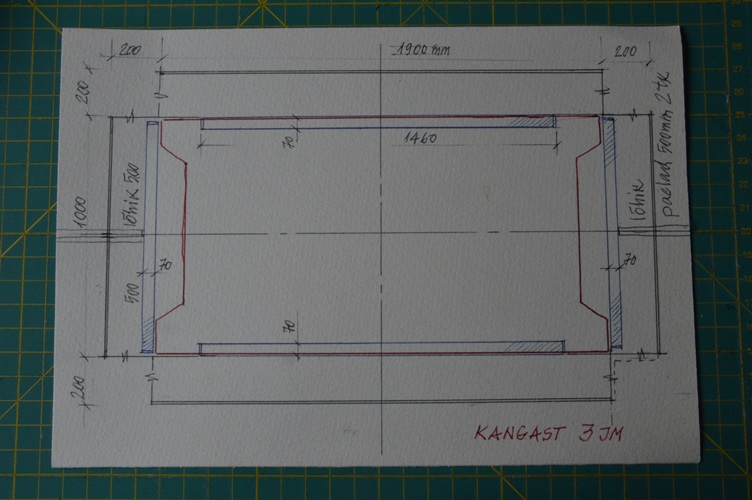
Besides the swing's roof I also sewed a cover for the seat, so that the cushions do not have to be carried indoors at every drop of rain. Thoroughly sensible, of course. Sitting on it with bare thighs is certainly not the most comfortable, but otherwise very practical.
More pictures of the cover and some of the details are on my portfolio page "Various sewing work".