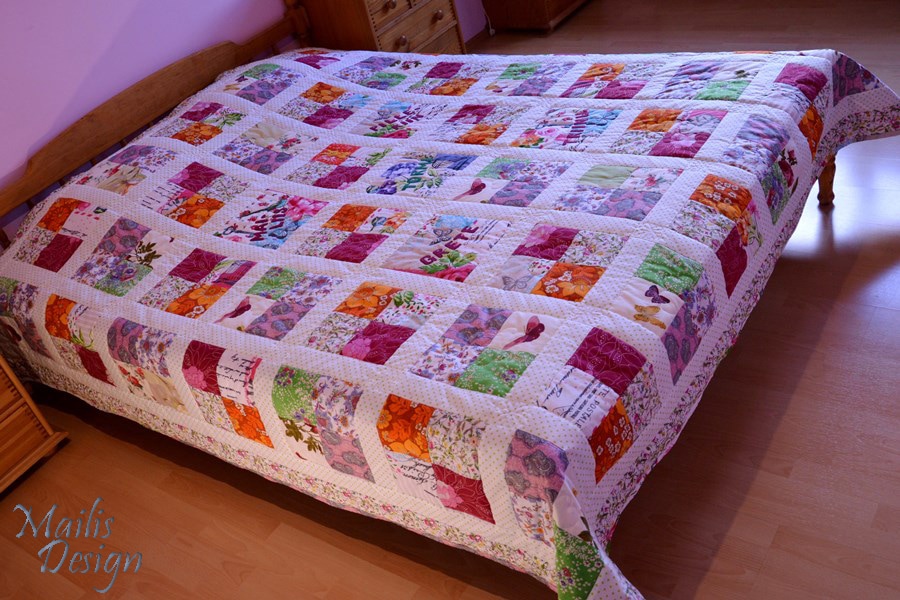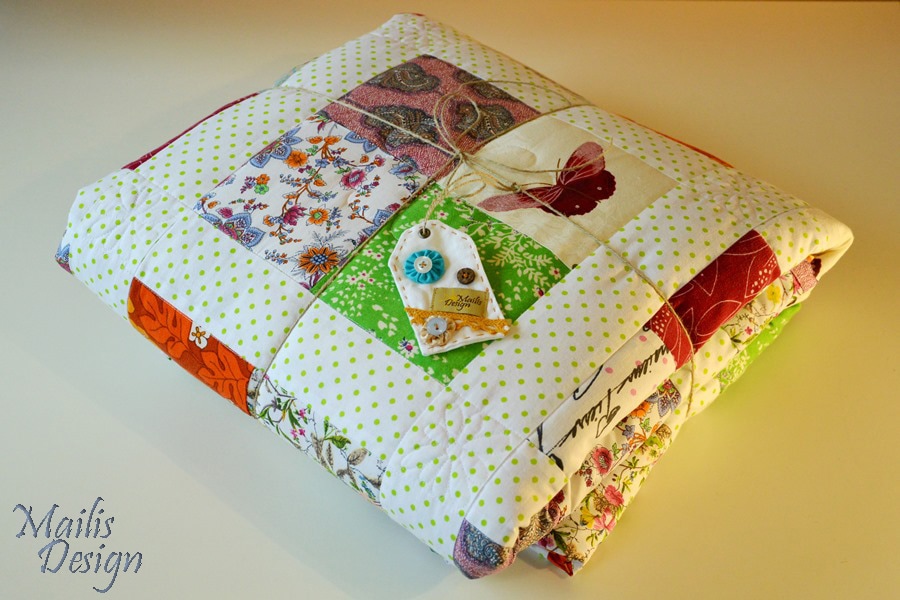
Another large quilt is under way. This one is going as a present to a wonderful grandmother.
I do not know this grandmother, but such a special present is not made every day; she simply must be a very special grandmother. 🙂
I decided to use this quilt as an example to describe how a commission is sewn.
1. We agree the measurements, the pattern and the deadline with the client. For choosing patterns my website has a password protected page where I have gathered patterns of varying complexity, with prices for quilts in different sizes.
2. Choosing the colours. Some express their wish very generally: they want a pink and white quilt, or in white and beige tones, or in autumn colours, or the like. Often, as this time, the client sends a photograph of the room the quilt is going to. Sometimes they also bring a few fabrics of their own that they want to see in the pattern.
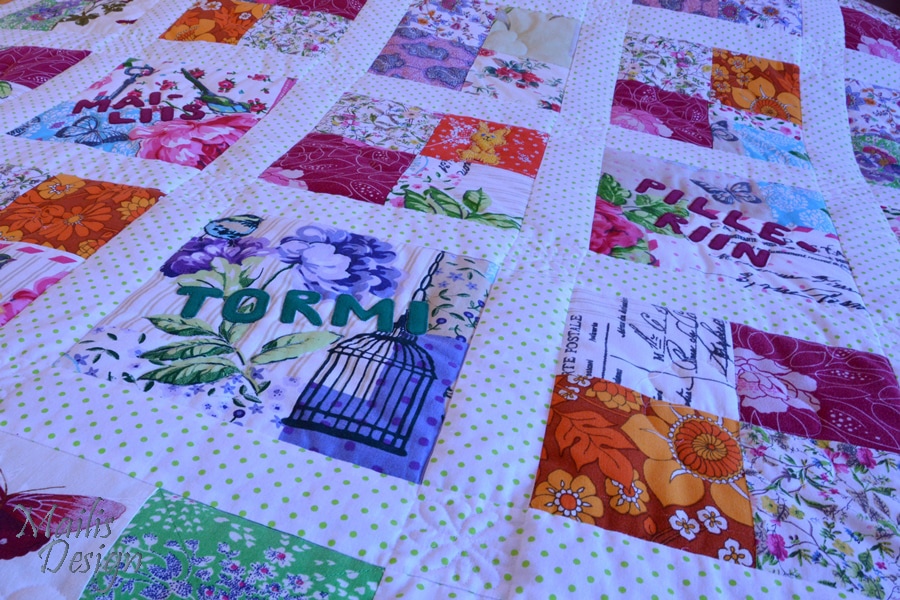
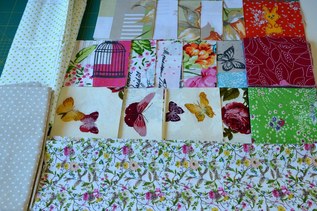
From the client this time there are pale green and dark red fabrics and a tiny yellow rabbit from the pocket of an apron. I sent a photograph of the fabrics and together we chose something in addition that would tie two fairly contrasting tones together nicely. To my mind it worked, looking at all those fabrics with flowers, butterflies and little birds in the finished piece. The fabric with pale green spots went into the strips between the pattern squares.
3. Once the choice of fabrics is made, I can get going in earnest. Since the client still had a question about how the fabric with green spots would show up in the pattern, I took one more picture. I laid the finished pattern blocks out on the fabric in a row, as they will be in the pattern.
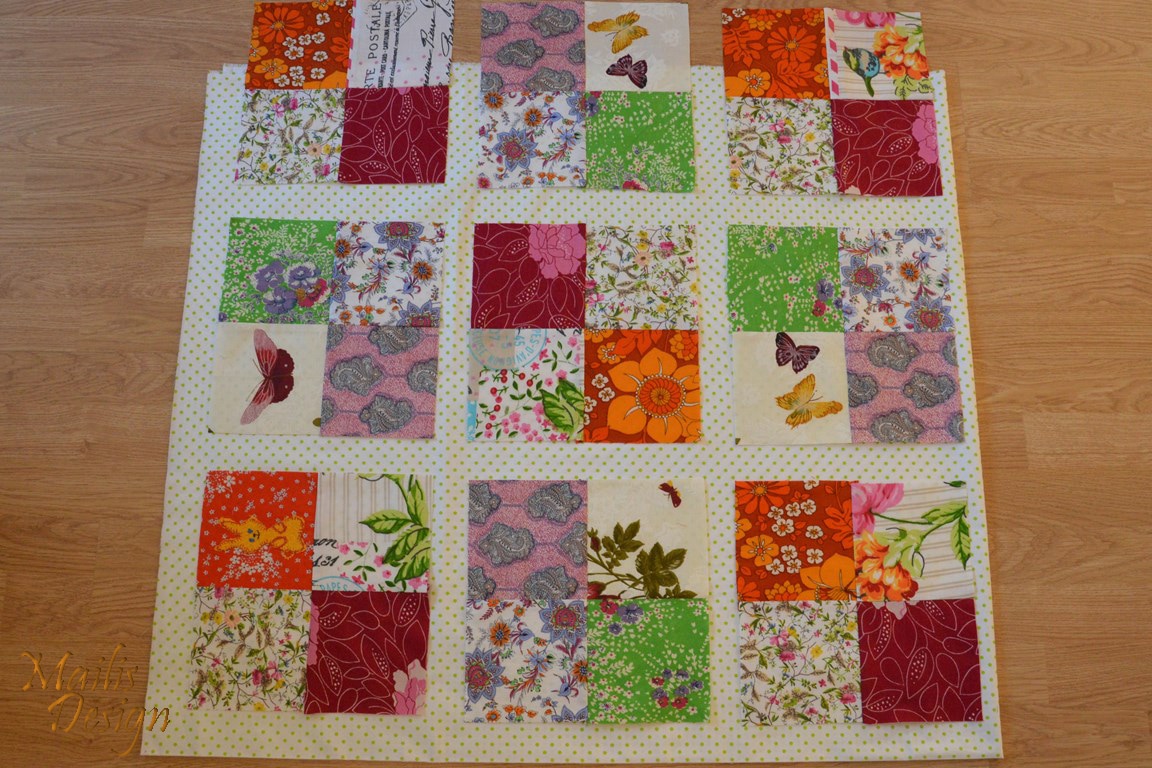
Four long days of sewing have now passed and the quilt's pattern is finished. The quilt measures 235x235 cm.
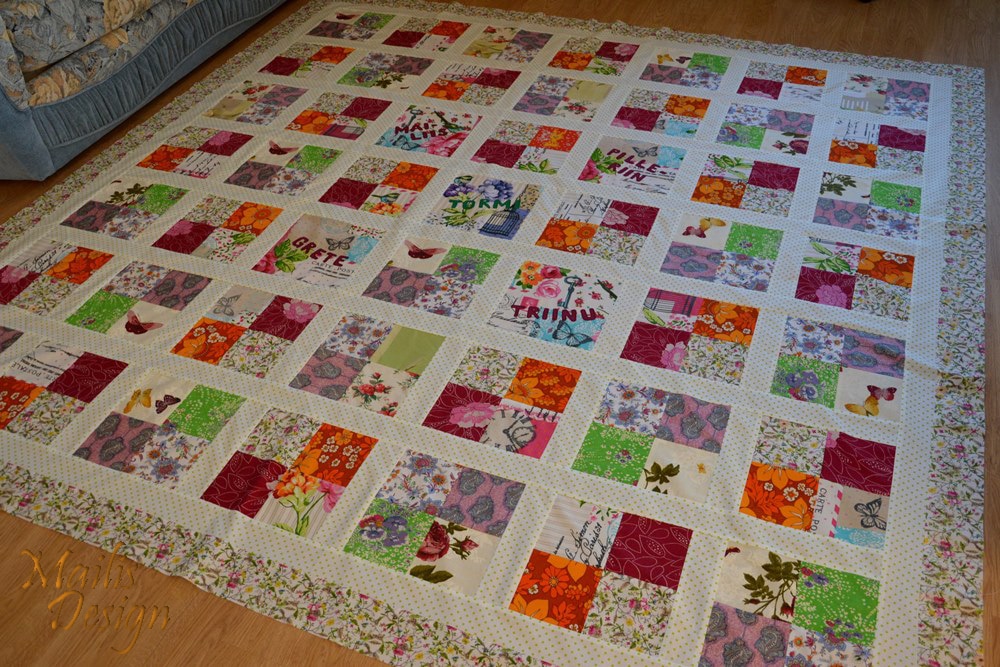
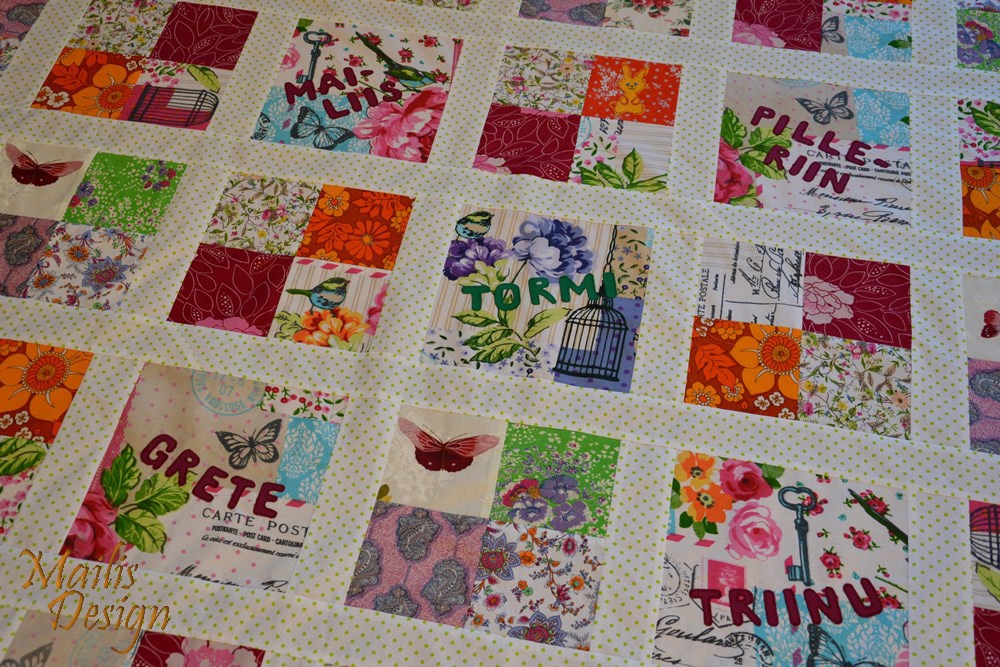
On today's quilt a great deal of time went into the name appliques: cutting the letters out of double sided fusible interfacing and fabric, ironing them onto the pattern, finishing all the edges one by one.
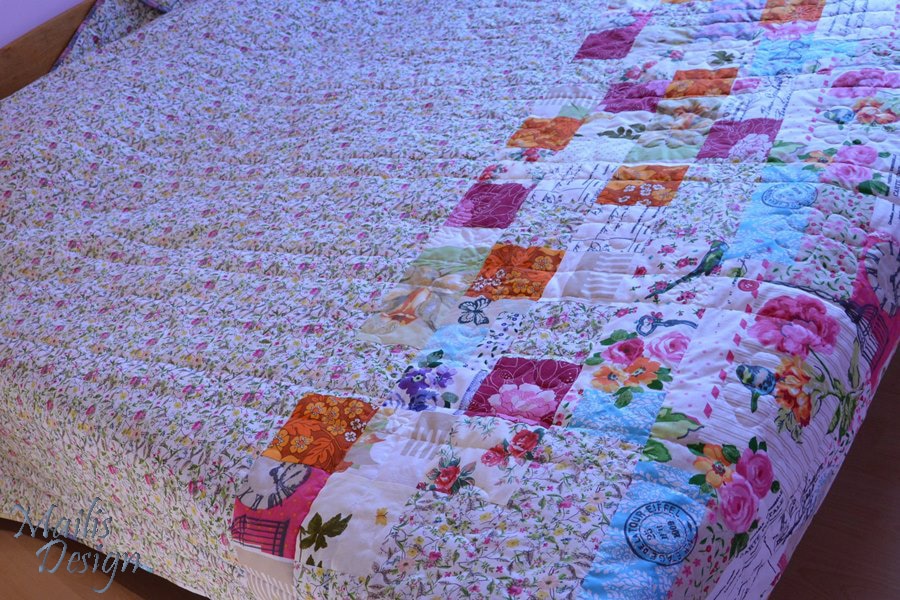
For the backing there is not, this time, a single piece of fabric as usual; instead I tried to make the most of the fabric squares and strips left over from the pattern. So now the backing is almost as colourful as the top of the quilt.
Once the backing is done, I sew the widths of wadding together to the width of the quilt. I lay the 3 layers of the quilt on top of one another, pin them with safety pins and start quilting. At least 2 more long working days will go into finishing the piece.