
On the portfolio page I have the topic "How a quilt is made".
It is an overview of the processes of sewing a quilt as I see them.
Since, according to the site statistics, that topic has become the most popular of all, I thought I would write a little more precisely about sewing patchwork from time to time, for the pleasure of those interested. And with plenty of pictures, so it is easier to understand.
This time I will start the subject from the moment the patterned top of a double width quilt is sewn. I will talk about sewing the pattern itself another time.
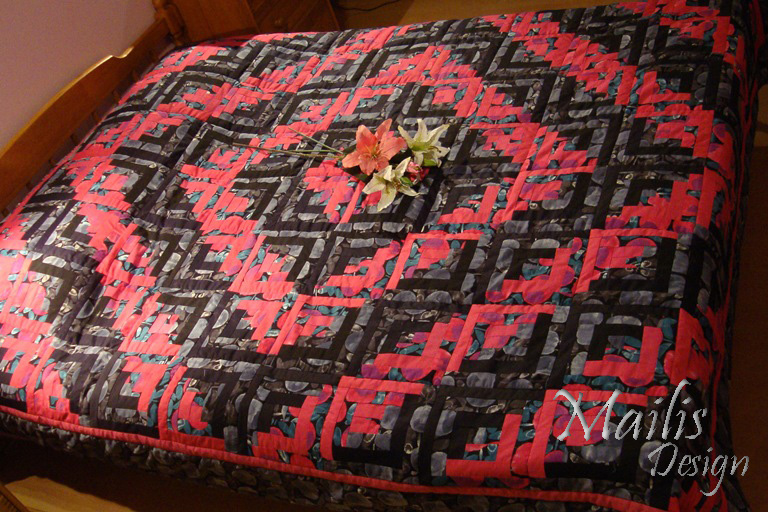
So, the patterned top of the quilt, in log cabin technique, is finished and pressed. If you are more interested in this pattern, you can google the keywords "log cabin quilt".
Borders around the pattern.
First I framed the pattern with a 5 cm wide fuchsia pink strip. A frame in contrasting tones brings the pattern out better. To my mind a wider border in the background tones suits it around that as well. On my quilts the outer border is 10 to 15 cm. Now that the patterned part of the quilt has its borders, the quilt has, as it were, acquired a face.
To measure the length of the borders, the patterned top must be properly pressed and spread out on an even surface. I always measure the size of the patterned top along the line where the blocks are joined, that is certainly not along the edge of the pattern. At the edges the fabric is loose, and sometimes stretched a little out of shape by pressing, and a length measured there is very deceptive. Once the borders are cut to size, I pin them to the patterned top. That way I distribute any rippling of the patterned top evenly along the whole length before sewing.
Once the first border is sewn, I measure or calculate the lengths for the next frame, cut them out, pin them and sew. By calculating I mean that you do not always have to measure the quilt again; you can work from the previous measurements plus the measurements of the preceding frame. In that case you must not forget to subtract or add the seam allowances.
Once the borders are sewn, I press the pieces added and the seam allowances.
Now I measure out and press the backing and put the wadding ready. At first the backing and wadding should be at least 5 cm larger than the patterned top on every side.
Fixing the layers of the quilt.
Here is a series of pictures. Click on the pictures, move with the arrow and read the comments below each picture.
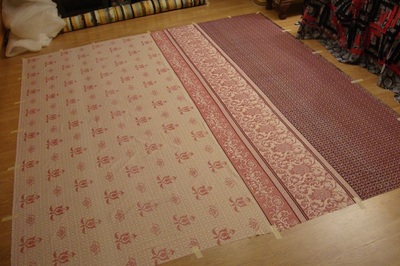
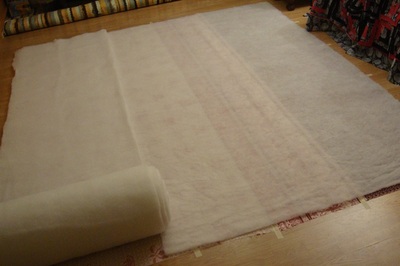
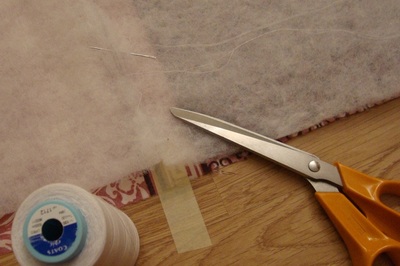
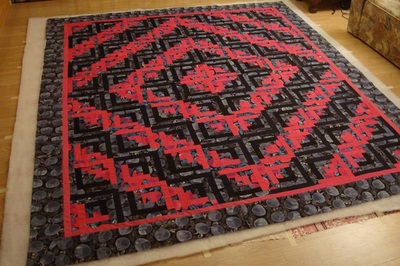
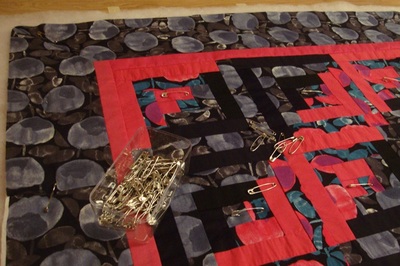
When buying safety pins I check that they are properly sharp and pass through the fabric without catching. I have bought safety pins twenty at a time and more than one packet has been unusable at first. I have then ground them down with a whetstone or with sandpaper. Some of them have a point that is quite hooked: pull it between two fingers and it actually scrapes them. Pins like that ruin the fabric.
There are also safety pins made especially for patchwork, which are curved. I do not have those and to this day have not missed them. I will try them some time and let you know whether they are better.
Quilting.
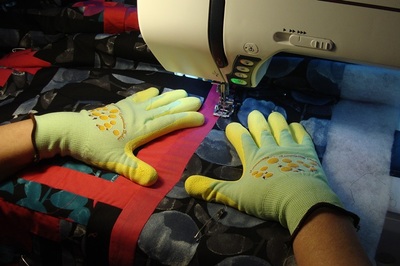
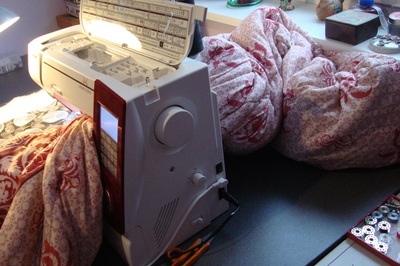
Quilting is helped by a sewing machine with a wider throat, a walking foot, a relatively fine needle (70 to 80), quality thread and gloves with a rubber coating. But it can be done without them, just as I began.
Among threads, transparent thread is also sold for quilting, so that on a brightly coloured quilt the seams do not stand out too much. I tried it once but gave it up. That thread is stiff like fishing line and I did not like it. It is also possible to use, for instance, variegated threads for quilting.
This time I am talking about straight quilting, that is quilting that ends up forming a grid.
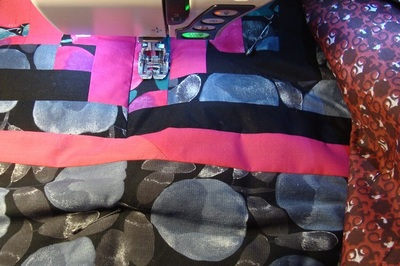
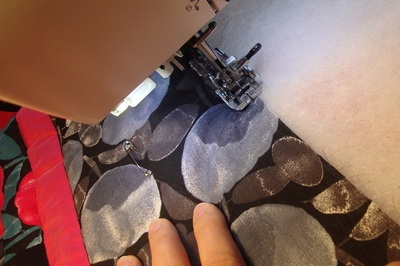
First I sew, along the narrow border of the quilt, the top line of quilting and then the right hand one from top to bottom. With that I have fixed the layers of the quilt by machine on two sides, the top and the right.
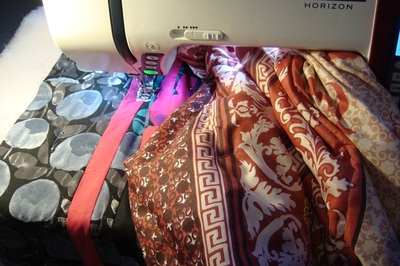
Then I quilt all the remaining vertical lines one after another, from top to bottom. The reason is that however well the layers of the quilt have been pinned beforehand, and however carefully you quilt, a small pleat still shifts towards the edge of the quilt by the end of the seam. If all the quilting is done in one direction, that does not show later. If you quilt row by row up and down, or one half of the quilt one way and the other half the other (because it will not all fit under the machine), then it is far harder to achieve an even result.
Right at the end I do all the horizontal quilting and the remaining fixing on the border.
Once the quilting is done, I sew a securing seam all the way round along the outer edge of the quilt and cut off the surplus wadding and backing at the edges.
Binding the quilt.
A quilt can be finished in several ways. As a rule I use a double fold fabric binding.
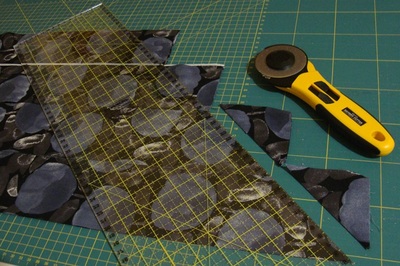
For that I cut strips for an 8 cm wide binding (the perimeter of the quilt plus 10 cm to spare) and join them with diagonal seams. With diagonal joins the seam allowance does not later create unnecessary bulk in the binding.
To get a diagonal end on the strips, I lay them out in a row on the cutting mat along the 45 degree line and cut the ends off. If you have no cutting mat, you can use a 45 degree triangle, chalk or soap, and scissors.
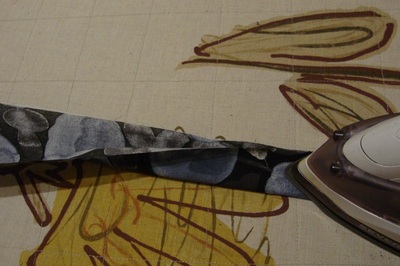
Once the strips are joined, I press the strip cut for the binding in half.
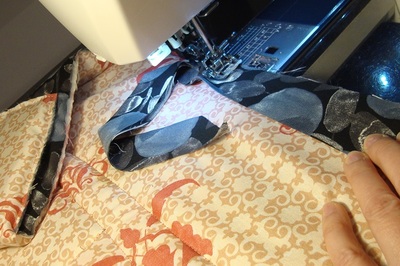
To make the first seam of the binding I turn the quilt so that the backing is facing up. I sew the binding strip along the edge of the quilt, with about a 1 cm seam allowance. The open edge of the binding strip lines up with the edge of the quilt, and the edge pressed in half faces the centre of the quilt. That I later fold over the edge of the quilt to the front.
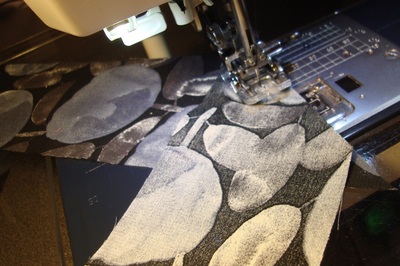
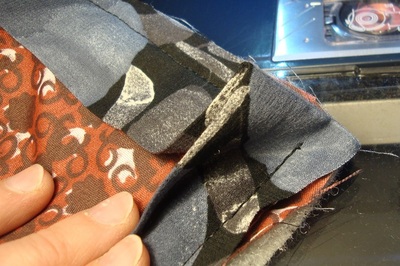
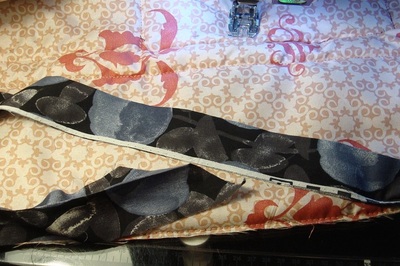
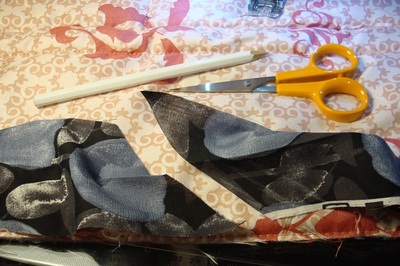
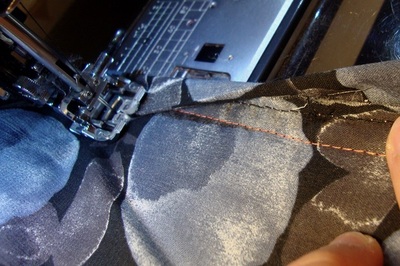
I start sewing, that is attaching the binding, at least 20 to 30 cm from a corner of the quilt, and leave the end of the binding loose for about half that length. Then later, when I have come back round the quilt to the same place, I can sew the ends of the binding together.
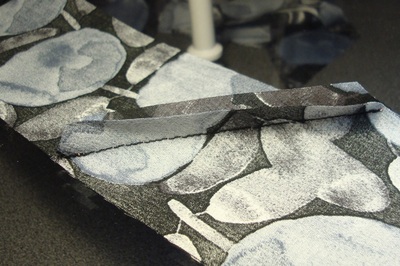
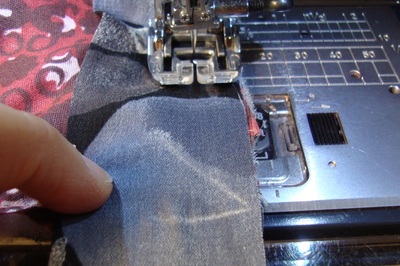
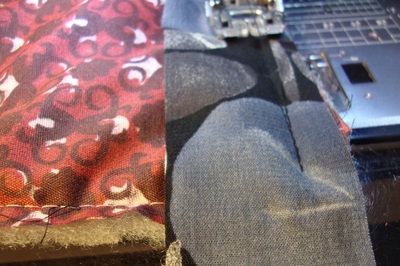
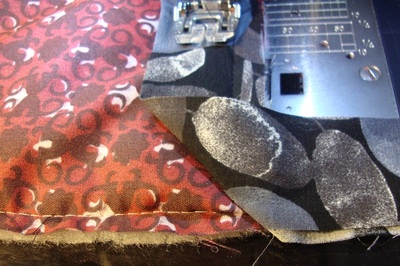
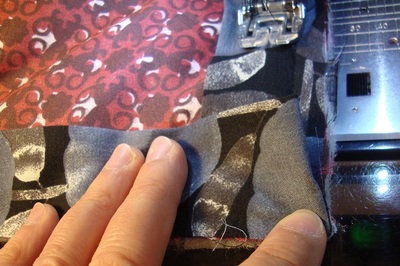
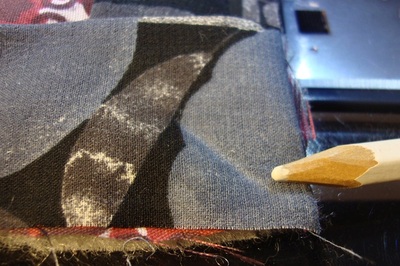
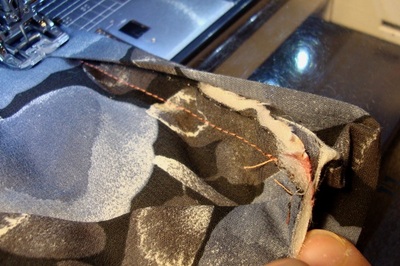
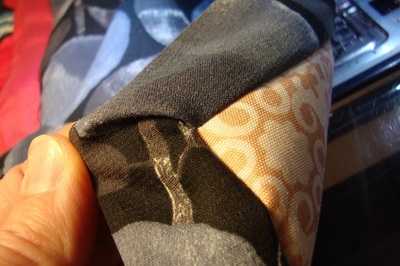
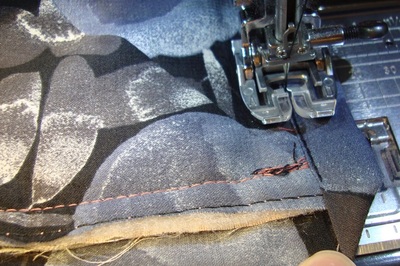
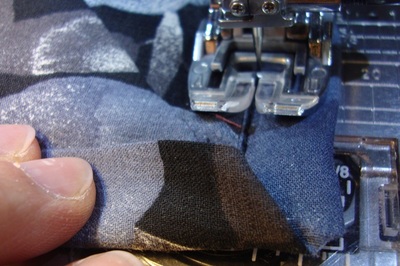
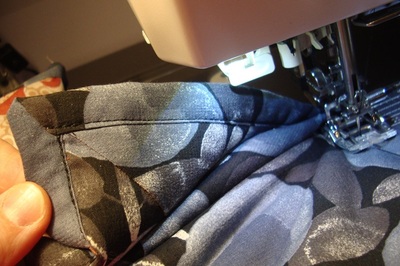
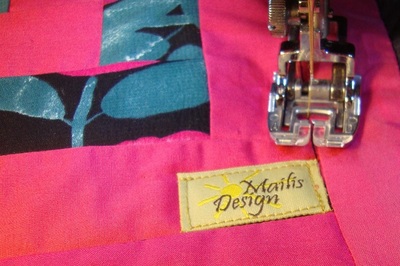
Joining the binding and sewing the corners can be seen in the pictures.
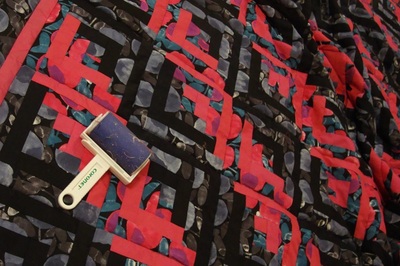
And there it is, finished. Pictures of the finished quilt are on the portfolio page as well.
Another time I will show you how the quilt's pattern is sewn.
A beautiful turn of the year to you, and a joyful and successful new year to you all.