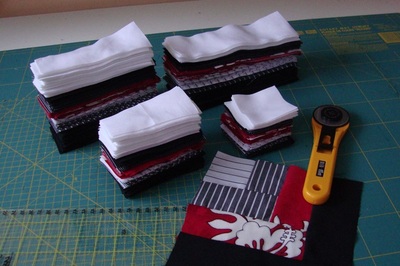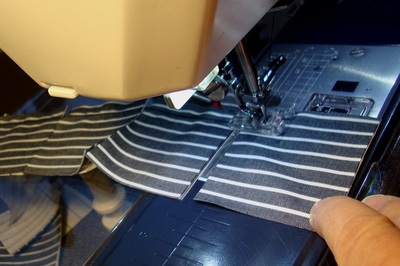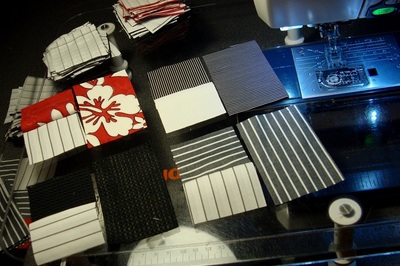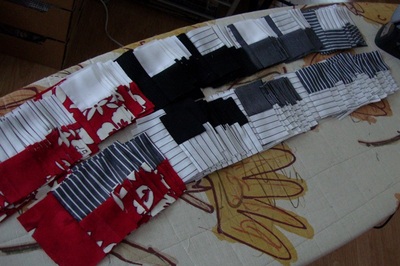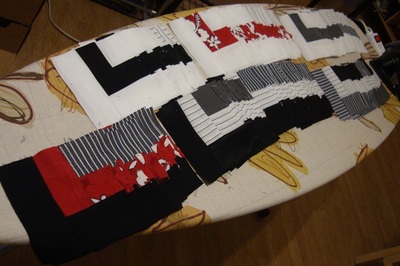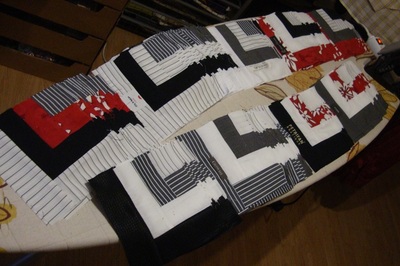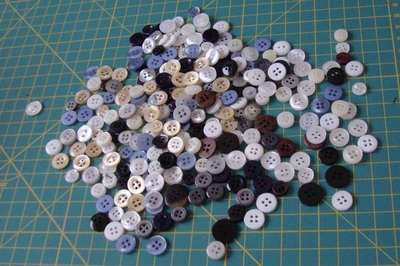
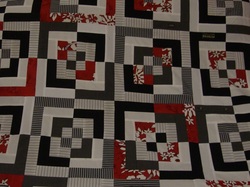
Karl's quilt is coming out in especially lively colours, from red, black and white shirts. There are dark greys with a white stripe among them, and whites with little black stripes. The red shirt has a pattern of white flowers. Very exciting; these are very good to build a pattern from.
I have sewn patterns from fabrics in these three especially lively tones before, and I like the contrast very much. What matters is that the colours are in balance with one another. When BLACK starts to dominate, the effect is gloomy. When RED, which symbolises energy, love, fire, vitality, activity and sensitivity and has a stimulating, enlivening effect, dominates strongly, in time the effect is tiring. WHITE, which symbolises purity, faultlessness, quiet, clarity, wholeness and lightness, certainly works well in large quantities too. But at some point the pattern loses its charm.
For the pattern of my quilt I cut 6 shirts into strips: 1 red, 2 white (including a striped one) and 3 dark (black and striped greys). I very much hope the result is cheerful, stimulating, sparkling. 🙂
To bring out the charm of the pattern better, I divide the fabrics into two groups: light ones (whites, whites with a dark stripe and others) and dark ones (blacks, blacks with white stripes, dark greys with a white pattern and others). The reason is that the strips of colour built up around the small central square have to alternate between light and dark. Red, though, belongs to both groups. In some blocks of the pattern I replace a light strip with red, in others a dark (black) one.
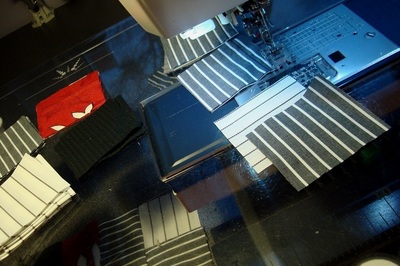
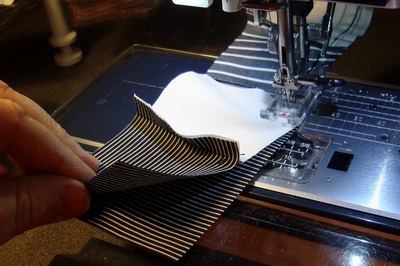
Before cutting the pieces I worked out the size of one pattern block (square), the number of blocks in the quilt and the size of every piece of the pattern. A pattern like this can also be sewn by the quick method, that is the pattern is built up from strips around the central square. I made a trial piece that way too. But the material of each shirt is of a different thickness and stretch, and the result was quite dreadful. Already on the first block the measurement was a full 1 cm out by the time the last piece was sewn on. So I cut every piece exactly to size, and can be sure the quilt looks neat and correct. Speed is secondary here.
The numbers:
Quilt size 165x200 cm.
Pattern blocks 10x12 = 120.
One block is 18x18 cm, seam allowances 1 cm, finished block 16x16 cm.
Sizes of the pieces including seam allowances (finished size in the pattern):
6x6 cm (4x4 cm): 120 light plus 120 dark
6x10 cm (4x8 cm): 120 light plus 120 dark
6x14 cm (4x12 cm): 120 light plus 120 dark
6x18 cm (4x16 cm): 60 light plus 60 dark
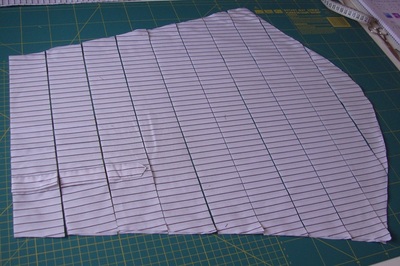
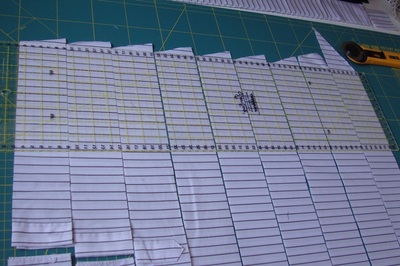
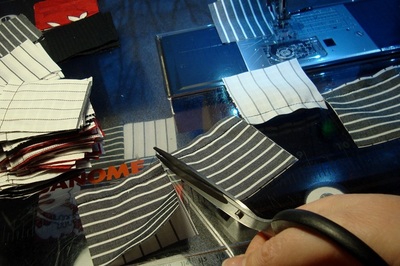
I did not actually count the pieces while cutting them. I laid the sleeves on top of one another, for instance, and later the back pieces. I cut them into 6 cm strips, then lined the ends up and trimmed them straight. Then I cut one row of the longest pieces, then row by row smaller and smaller ones, and from the remnants as many tiny pieces as would fit. The front pieces I kept in reserve, so that if a square or strip of some colour or size runs short I can cut more.
About sewing the pattern.
With a pattern like this the first contrast comes from the tiny squares in the middle of the pattern: 2 dark alternating with 2 light. So there will be 60 pattern blocks with a dark square in the middle and 60 blocks with a light one. As I wrote earlier, in some blocks I used red in place of the light colour and in others in place of the dark.
When cutting striped fabric I prefer to cut the strips across the stripe. Cutting along the stripe becomes annoying when the stripes run crooked. Especially with wide stripes.
Now look at the pictures and the comments below them.
In the next post I will write to you, surprise, surprise, about sewing secret pockets into a quilt.
See you then.
🙂