Do you value reuse and prefer natural materials?
Splendid, so do I.
Today I will show how you can sew soft, pleasant cotton rugs from old bed sheets.
I sorted out my bed linen cupboard and threw out an enormous pile of sheets and duvet covers that had become useless.
The quantity was just large enough that throwing the whole heap into the rubbish container seemed wasteful. I would not want to make quilts from worn sheets; the life of such quilts would be considerably shorter than of those sewn from quality fabric. With some patterns or techniques you of course need another fabric under the pattern, and in that case such sheets are a welcome material, all the more so as most of them were simply white. This time, though, I decided to sew myself a few more bathroom rugs, in chenille technique.
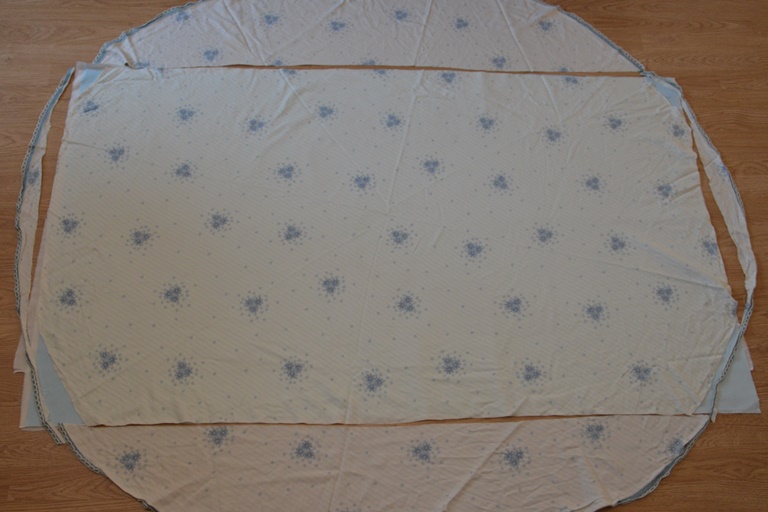
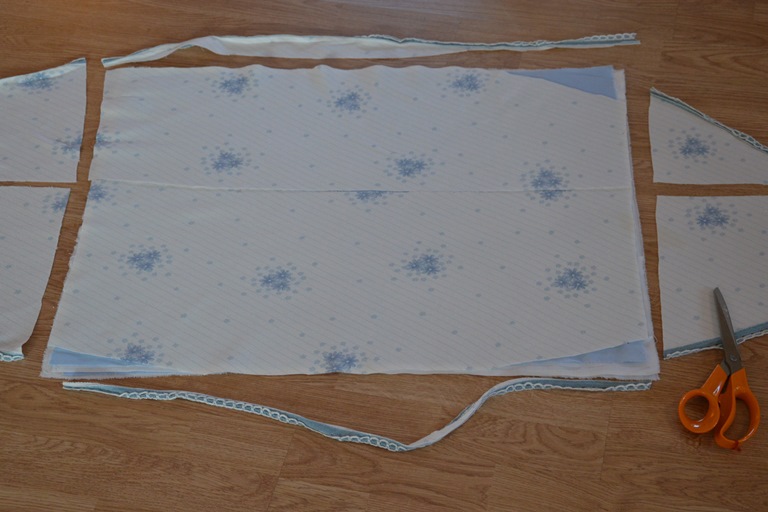
First I picked out the sheets in white and bluish grey tones, because those are my bathroom's colours. I planned to sew two rugs: a larger one about 90x120 cm and a smaller one 50x70 cm. I set aside 2 double width duvet covers, 1 wide sheet and 1 large round tablecloth. For this work it is good to use precisely the most worn, fraying or unevenly faded sheets. Like one blue duvet cover of mine which, after the first wash, looked as if it had seen bleach and was absurdly patchy. For this work, though, it is exactly the right thing for the very top layer.
I tore rectangular pieces of fabric out of the sheets, a little larger than the planned rugs. I tore out all the seams and hems as well. For one rug I laid 8 layers of fabric on top of one another.
From the middle of the tablecloth I cut a large piece for the bigger rug. From the edges left over I got one pieced layer for the smaller rug. If you use several pieces of fabric in one layer, simply lay them side by side; no seams are needed.
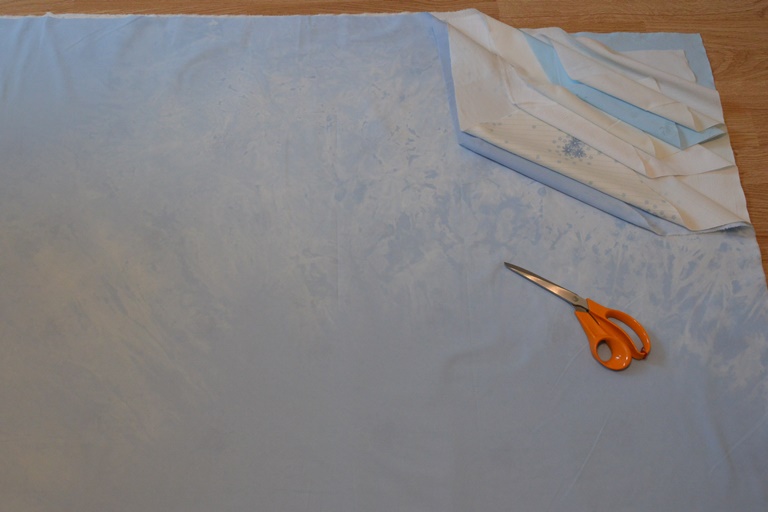
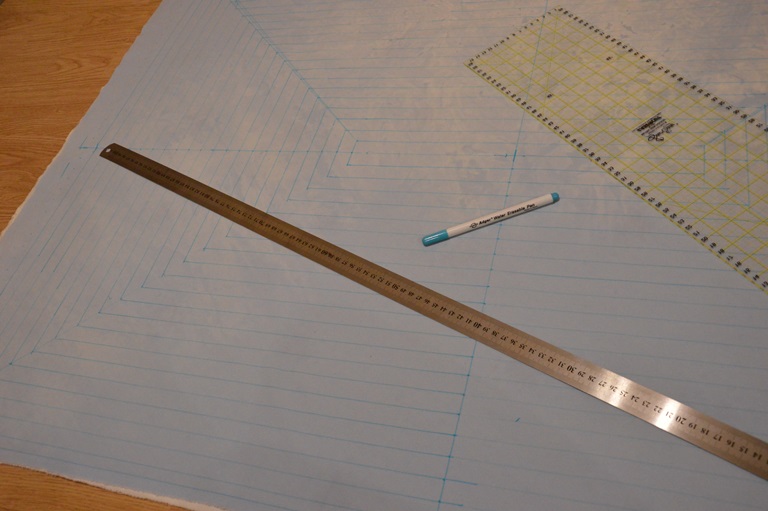
Once the fabrics were laid in a stack, I drew the lines for the quilting on top. If that seems silly trouble and mad geometry, you can of course simply sew diagonal lines as on my first rugs (see the first photograph), by eye or with the help of a quilting guide that shows the width.
But besides patterns I also like mathematics and geometry (statistics and so on too), although that is not today's subject.
In a word: lines drawn... spiral quilting...
I drew the gap between the quilting lines as 2 cm. It should not be any wider; with only 8 layers that is already a lazy person's measure.
I used a water erasable pen, a transparent ruler, and for the larger rug a long metal ruler was a help too. The water erasable pen comes off later when you wet the fabric, by spraying water on it, for instance.
By the way, an observation: the measurements of a sewing tape measure (the soft one) and of a metal ruler differ from one another. For every 60 cm the difference is a full 1 cm. When I was cutting out kannel bags and used both in turn for measuring, I nearly drove myself mad with rage. Measure and measure, and it simply does not match.
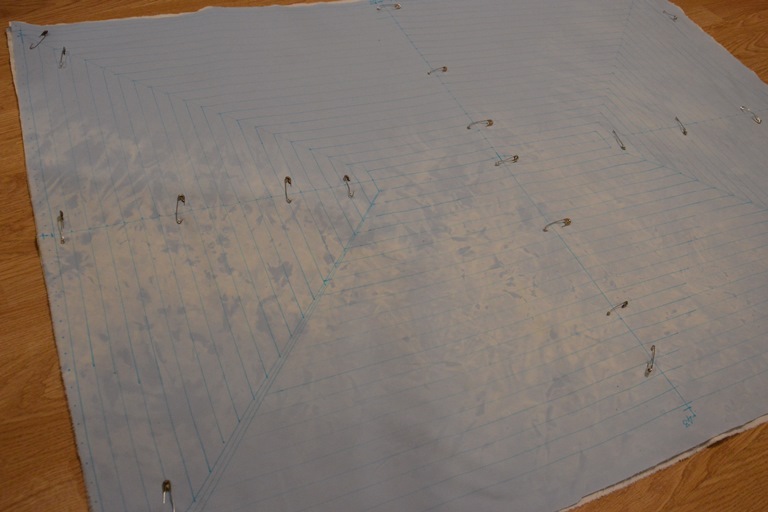
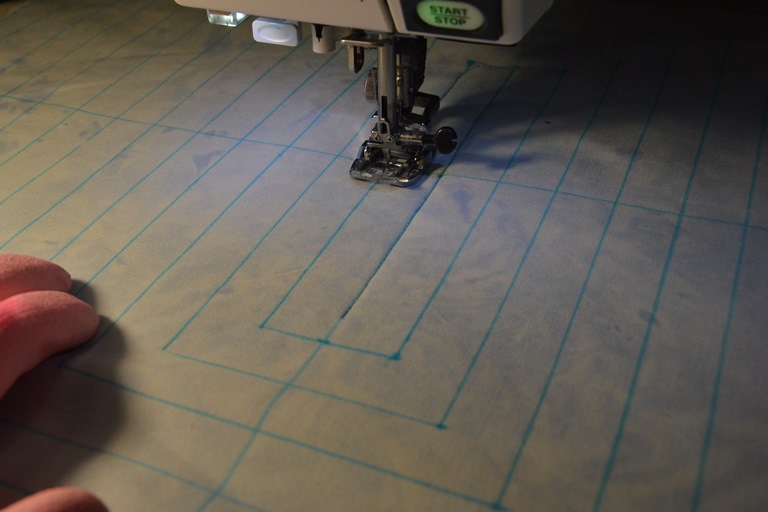
The layers together, the lines on top. On the larger rug (on the left) I pinned the layers with safety pins before quilting; on the smaller (on the right) I did not. Those pink fingers in the corner of the picture are the rubber gloves I bought for quilting, ordinary gardening gloves. With them it is easier to push the fabric along; under bare hands the fabrics will not obey when there are several layers.
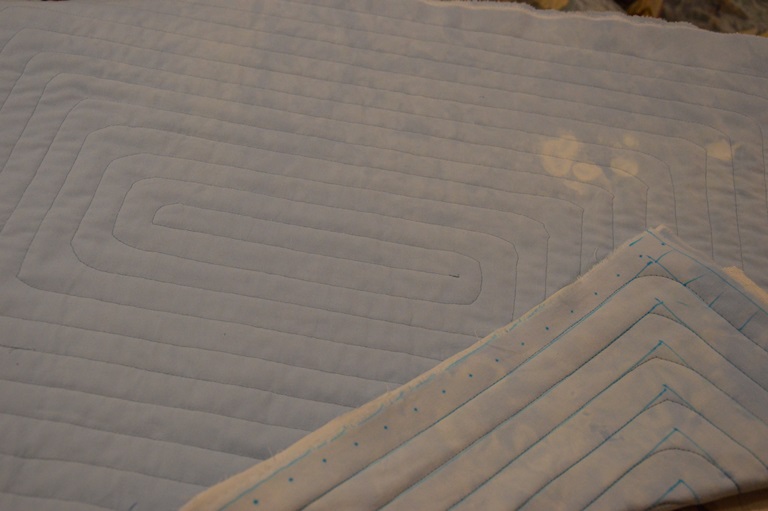
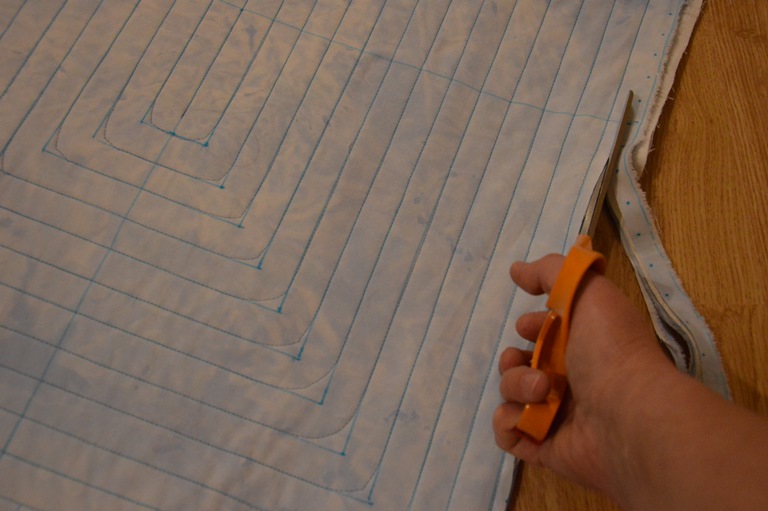
Right, the quilting is done. In the picture on the left you can see at the bottom how I started from the middle. I made the corners rounded by eye.
Next I trimmed the edges 1 cm out from the outermost quilting line, which would go under the binding. I bound it with a 5 cm wide diagonal binding. The first seam downwards. At the corners the binding could be pulled a little tighter, so the second seam comes out neater. Then fold the binding over the edge, the edge of the binding turned in double, and the second seam.
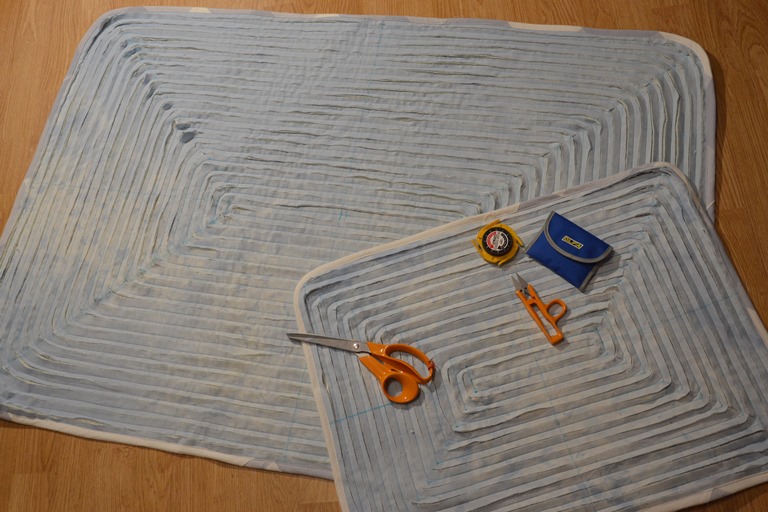
The second to last and most tiresome job is cutting the layers of the rug open, the operation... You poke a hole with sharp scissors through 7 layers, so that only the bottom fabric stays whole. The remaining 7 layers you cut open between all the quilting lines. On these rugs, then, in a spiral. For the two rugs that mad cutting came to some 50 m in all. If work like this is the first and last of your life, then you can of course do it with scissors. In which case it will probably also be your last attempt at this technique.
If possible, though, I recommend using a special chenille cutter. It can be seen in the picture. I bought mine at Karnaluks, but you can ask at craft and patchwork supply shops.
The cutter has 4 different gaps to choose from, according to the thickness of the work. Every couple of rounds it got jammed with threads and fluff, of course, but with scissors this work would be many times more laborious.
Finally: into the washing machine. If you are afraid of blocking your machine, you can stuff it into a wash bag.
This piece of work frayed dreadfully. They were such thin cotton sheets. My previous piece, which has been washed dozens of times, is still quite decent and does not fray at all. I wonder whether linen fabrics happened to be involved that time.
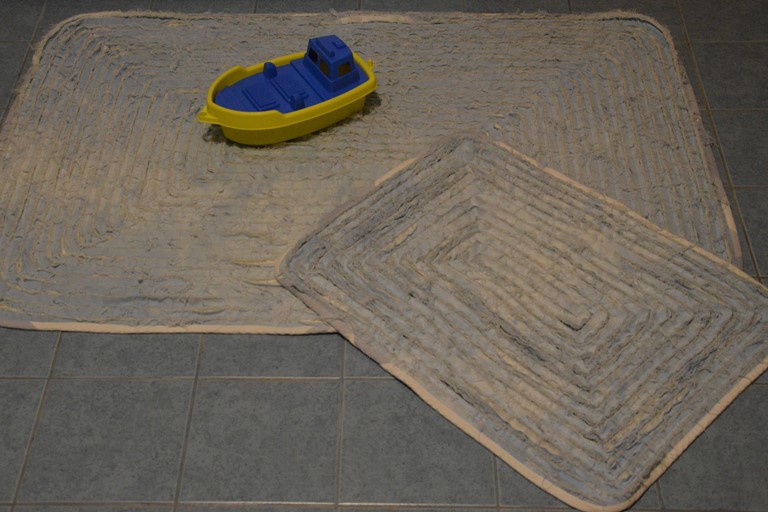
And here now are the pictures of the two new rugs after washing and before anyone has walked on them for the first time. 🙂