After a long time I can switch myself back to my favourite subject, the patchwork wave.
The starting point is a large bag of dress shirts brought by the client. The aim is to sew 1 skirt and 1 quilt from them.
To begin with I sorted the shirts into stacks by colour. For the skirt the colour preference is blues. Everything left over goes into the quilt, with additions from me.
I have sewn quilts from dress shirts before and written long accounts and tutorials about it with plenty of pictures on my website's blog. (The patchwork room, January and February 2015.)
http://www.mailisdesign.com/blogi/triiksarkidest-lapitekid-taaskasutus-ideid-ja-nouandeid-1
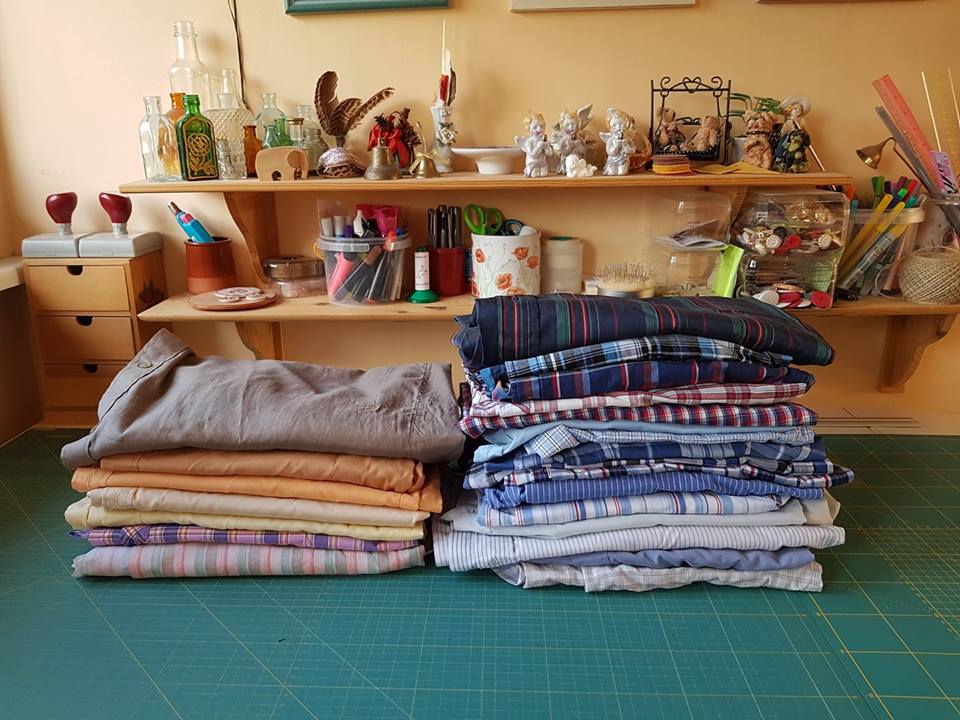
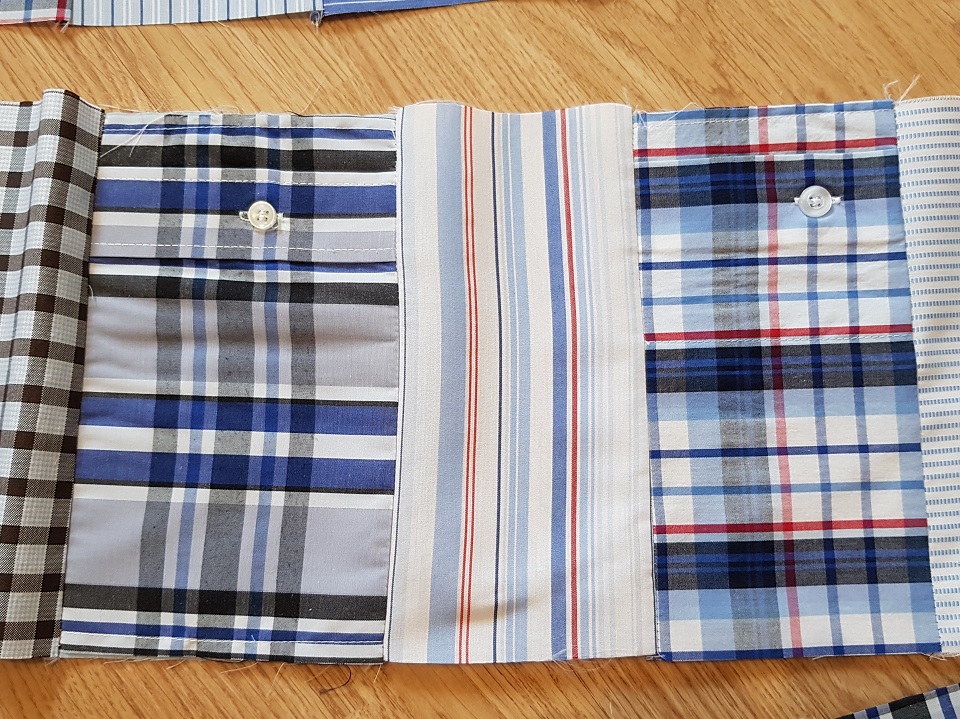
By the end of the first working day all the shirts are cut into their basic parts, pressed and the buttons cut off the collars and cuffs. The buttons on the button plackets I kept, because I would like to sew some large squares with the fastening and buttons into the quilt. The idea for the patchwork skirt is to make a few pockets from the plackets.
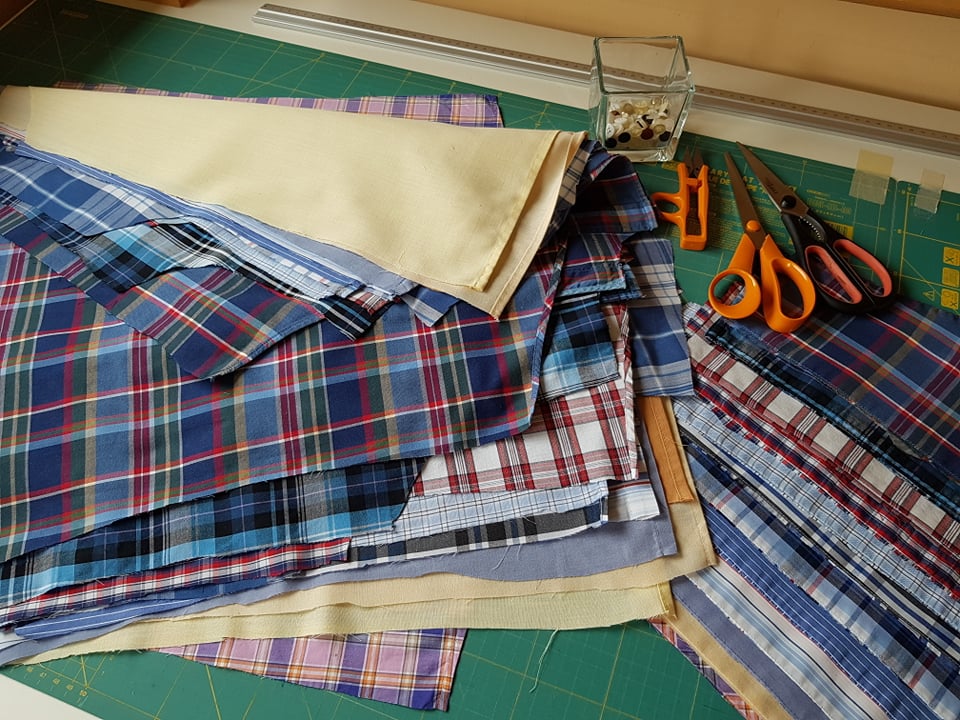
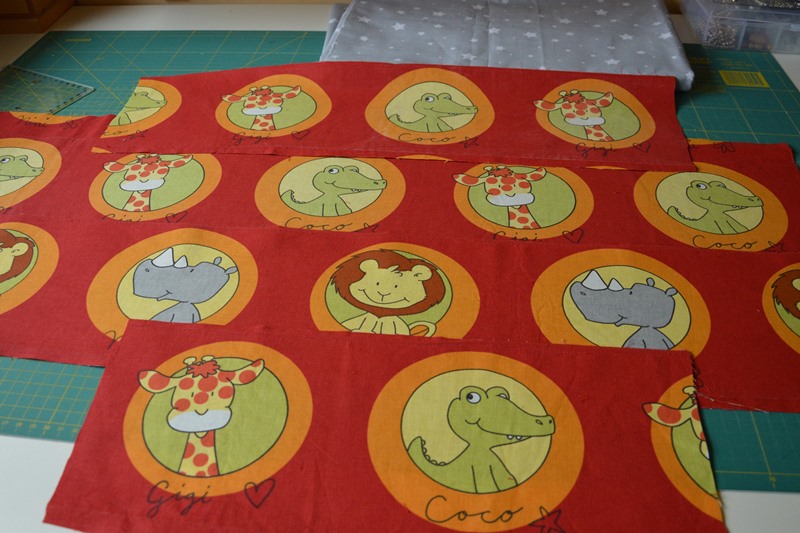
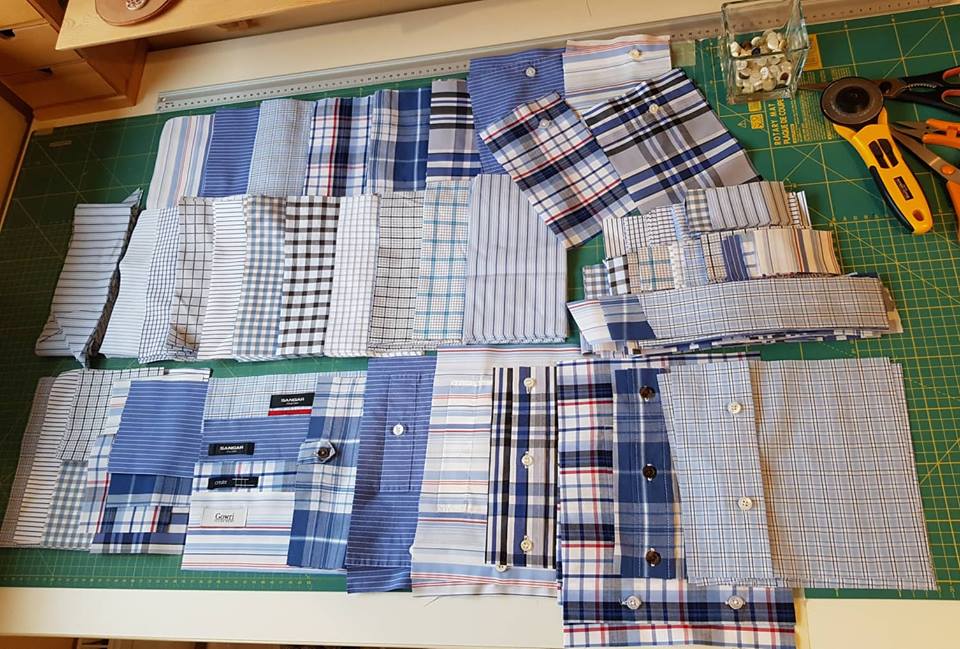
By the end of the second working day the shirts have become stacks of rectangles of different sizes. First I decided to make the skirt, this time from long, narrow panels. For that I picked out the lightest shirts and added dress shirt material of my own. The top two rows are pieces cut for the skirt: the top one from the client's dress shirts, the next added by me (new fabrics). At the right hand edge are pieces cut from the button plackets, from which I will make 4 pockets in the skirt's pattern. For a phone, a lipstick, a bank card and some cash, for instance. In summer it is sometimes very tiresome to take a bag everywhere and then keep watch over it.
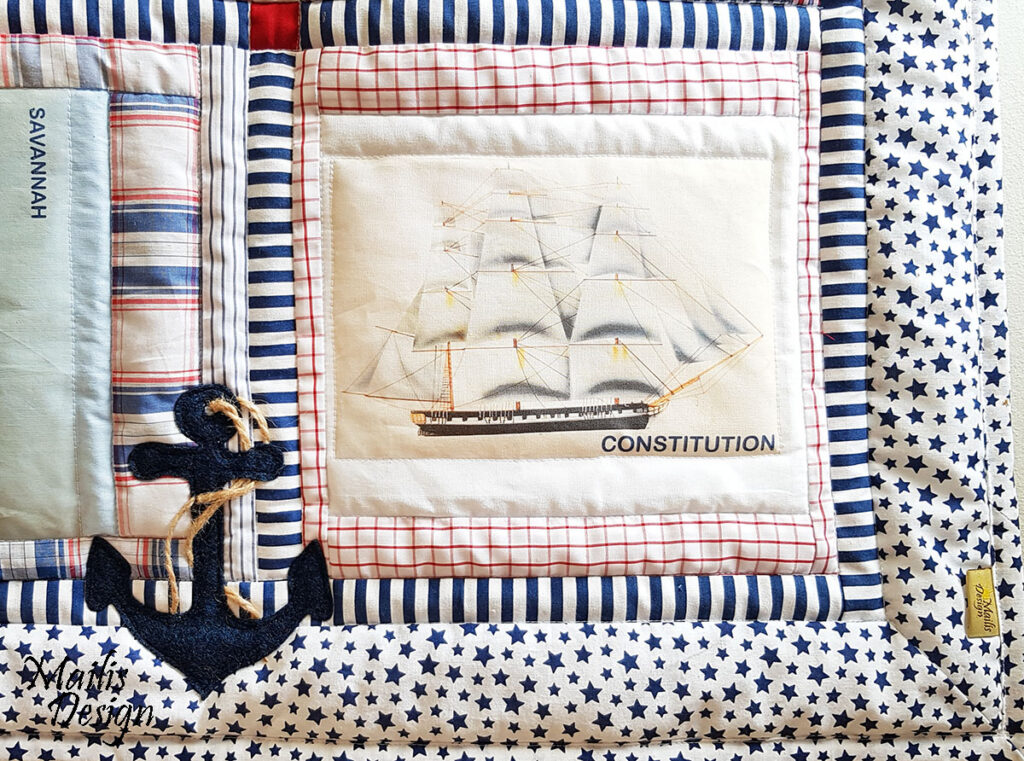
The larger pieces at the front of the table are for the quilt. I used all the shirt pockets, the yokes with their labels and the plackets. The pieces left over from the skirt I can use up in the quilt too; 2 strips together give the same size square that I cut for the quilts. The smaller pieces I also sew together into a large square.
Day three.
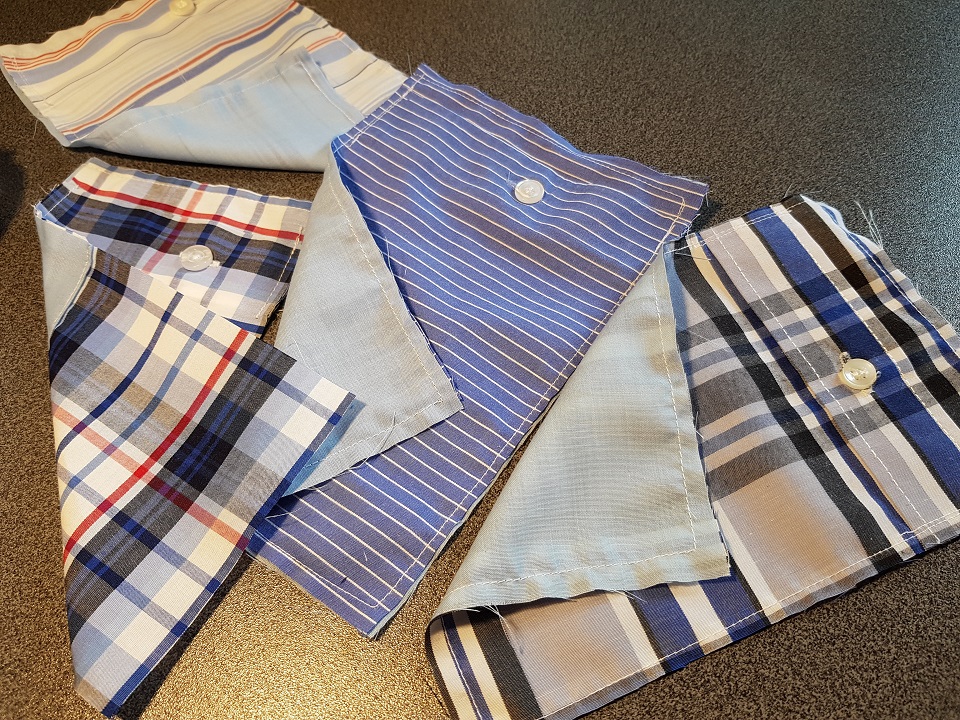
* I sewed a second fabric under the pockets. The pockets are cut from the shirts' plackets, of varying widths. One to three centimetres wider than the skirt's pieces.
* I laid the skirt pieces out in a row on a tray (I use the lid of a plastic box) and sewed them together side by side with the overlocker into four rows. While sewing I trimmed them under the machine by 0.5 cm at the top edge into a trapezium. The pocket pieces I left rectangular.
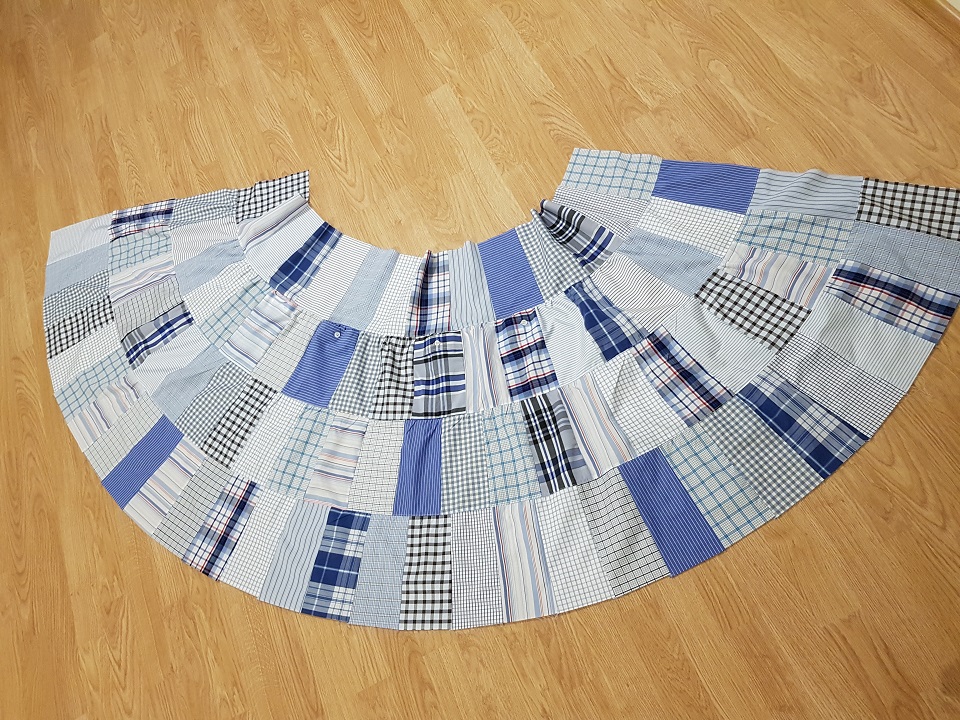
* I pressed the seam allowances down.
* I sewed a gathering thread into the top edge of the strips, using the machine's maximum stitch length. At the very top edge comes the channel for the elastic. That I did not gather.
* I gathered it, pinned it and sewed it down with the overlocker. I topstitched over the seam. Pressed it. And so all the strips together.
* The back seam with the overlocker, topstitched over.
* I overlocked the bottom edge and turned it up.
* I made the waistband 8 cm wide and pressed it in half. When sewing it straight together I left a small gap for the elastic. The elastic is 2.5 cm wide.
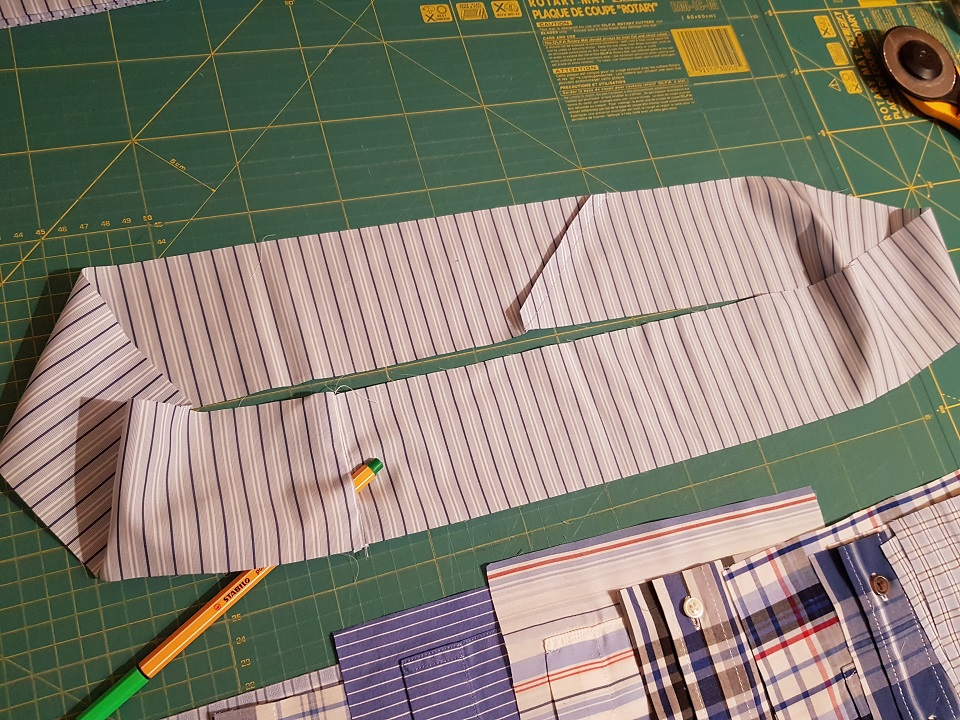
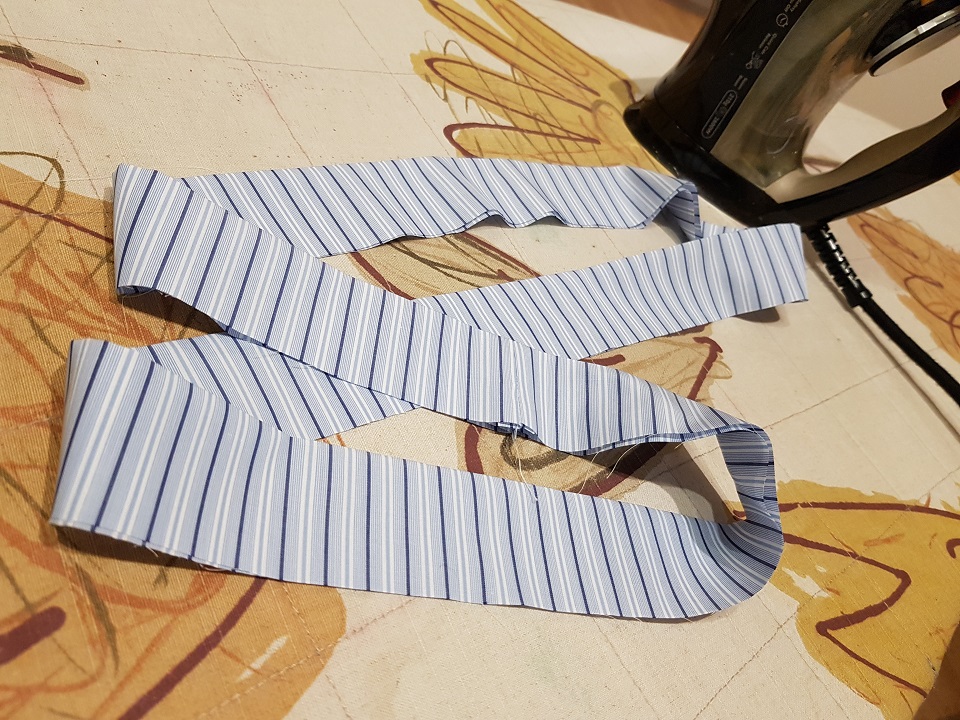
Measurements:
The pieces are 11 x 20 cm.
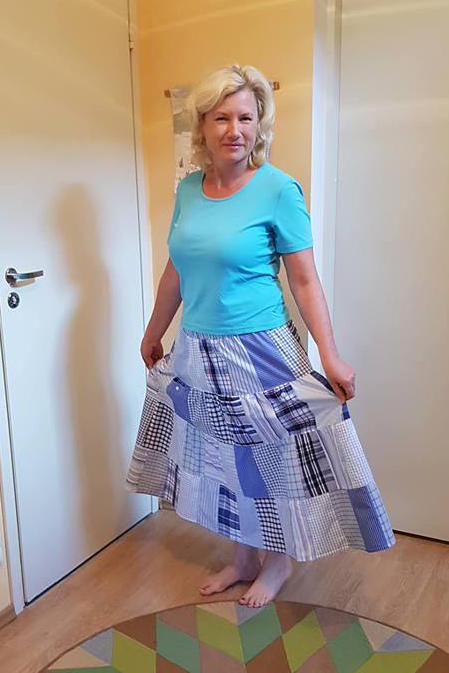
I made the top row the width of the hips plus 1 piece, and every following row 4 or 5 pieces longer (14, 19, 25 and 30).
The length of the skirt with the waistband came to 76 cm.
The pockets should hold a phone, a bunch of keys and a little cash.
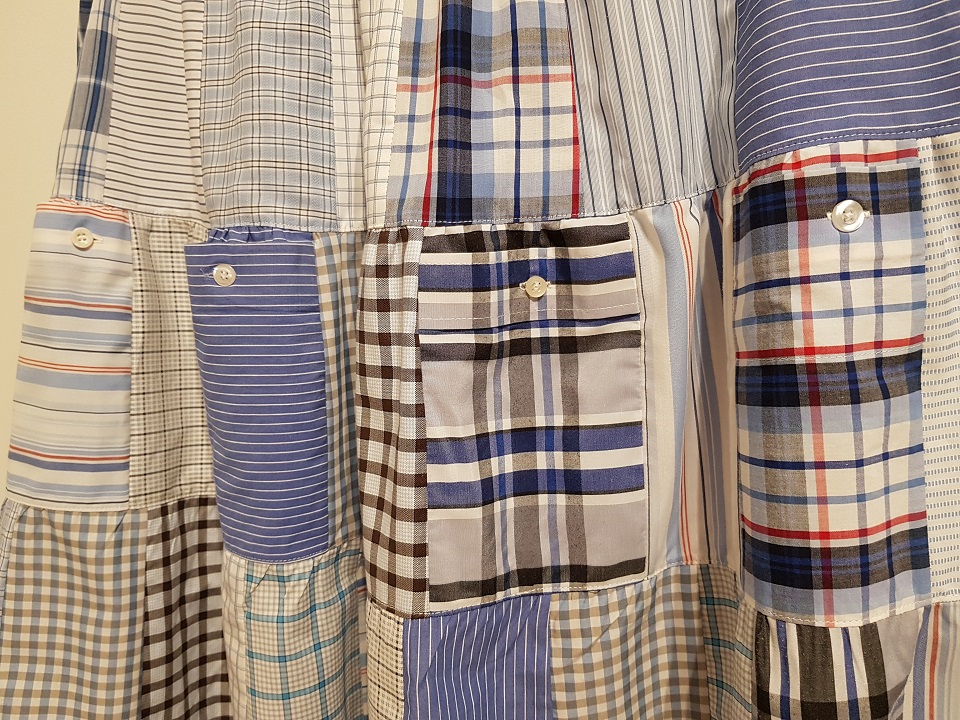
Right then. The skirt reached its owner's hips and I have not seen such a happy person in ages. She jumped and leapt and twirled and hugged me, saying that in the flesh the skirt is far more beautiful and splendid than in the picture. So sweet.